Showing posts with label yogurt. Show all posts

Wednesday, May 18, 2016

Making Yogurt With Acidophilus Tablets

Print Friendly and PDFPrint Friendly
Making yogurt is a skill that will save you money and also allow you to make several other things, like cream cheese or sour cream, out of plain yogurt.  I have been making yogurt for a few years now and I have tried many different ways and have found what works and doesn't work.  I started making yogurt with regular milk from the grocery store but milk started to get expensive so I switched to using powdered milk.  For a yogurt starter I have tried regular, plain yogurt, dried starters, and even a forever starter that gets used over and over.  They all worked but my goal was to be able to make yogurt without having to use a refrigerated starter.  I do keep plain yogurt in 1/2 C measurements in the freezer, but that will still be a problem if there wasn't electricity.  My husband has always laughed at the fact that you need yogurt to make yogurt, but I think I have found a way around needing refrigeration for a starter.  One of my favorite websites is myfoodstoragecookbook.com  and that is where I learned about acidophilus three billion.


Acidophilus Three Billion is a probiotic that aids in digestion, but it is also the live cultures needed to make yogurt.  Instead of using plain yogurt with live cultures, use the acidophilus tablets instead.  (I bought mine on Amazon, but health food stores should have it too) Take note that the incubation period for the yogurt will be quite a bit longer, like 18-24 hours, before it starts to firm up.  Normally, with a plain yogurt starter, I would get the yogurt started in the morning and it would be setting up in the fridge by dinner time.  I made yogurt with the acidophilus and started incubating at 9am and I let it sit until about 10am the next day.  It wasn't bitter, like yogurt can get, it just took longer to set up.  I also made the yogurt in my Saratoga Jacks Thermal Cooker and that was a great option if I didn't have electricity.   I usually use my yogurt maker, and I'll have to try my next batch with my tablets to see if the yogurt comes out any differently.  


This is how I make yogurt.  You will notice that I don't heat up my milk and then let it cool. If you are using powdered milk you can skip that step.  If you use regular milk from the grocery store you will need to heat up your milk to 180 degrees and then let it cool to 100-110 degrees before adding your starter.  Don't let it cool to under 100 degrees or the starter won't "start".  It will stay in kind of a hibernation state.


Start by putting 3 3/4 C water and 1 C powdered milk into a blender.  Blend until combined.  Allow a few moments for the frothy milk to settle to the top.  You can scoop it off at this point and discard.  I add 1/3 C sugar and 1 T vanilla flavoring to my yogurt unless I am planning on making sour cream with it.  My children really like a little sweetness and flavor to their yogurt. I used to give them honey to mix in but the yogurt would get runny and they wouldn't eat it.  If you really don't care to use the sugar you can try a sugar substitute.  


Pill Crusher that I bought on amazon.com.


Using a pill crusher, crush 3 acidophilus tablets and add to a little of the blended milk.  Add it back to the blender and just stir to combine.  


Pour the milk into a clean, warm quart jar.  This recipe makes enough yogurt for one quart.  (I fill my mason jar with hot water while I make up the yogurt.)


There are several ways to incubate your yogurt but I decided to try my Saratoga Jacks Thermal Cooker.  If you don't have one try a small cooler or wonderbox.  Just make sure to have little or no air space around the jar.  I filled my cooker with the hottest water I could get out of my faucet, which was around 125 degrees.  Anything hotter will kill your starter.  After 8 hours I did switch out my water for hot water again.  The yogurt won't set up if it is too cool either.  Try to keep it above 110 degrees.  Don't let all of the temperature info scare you away from making yogurt.  It really isn't as hard as it may seem.  


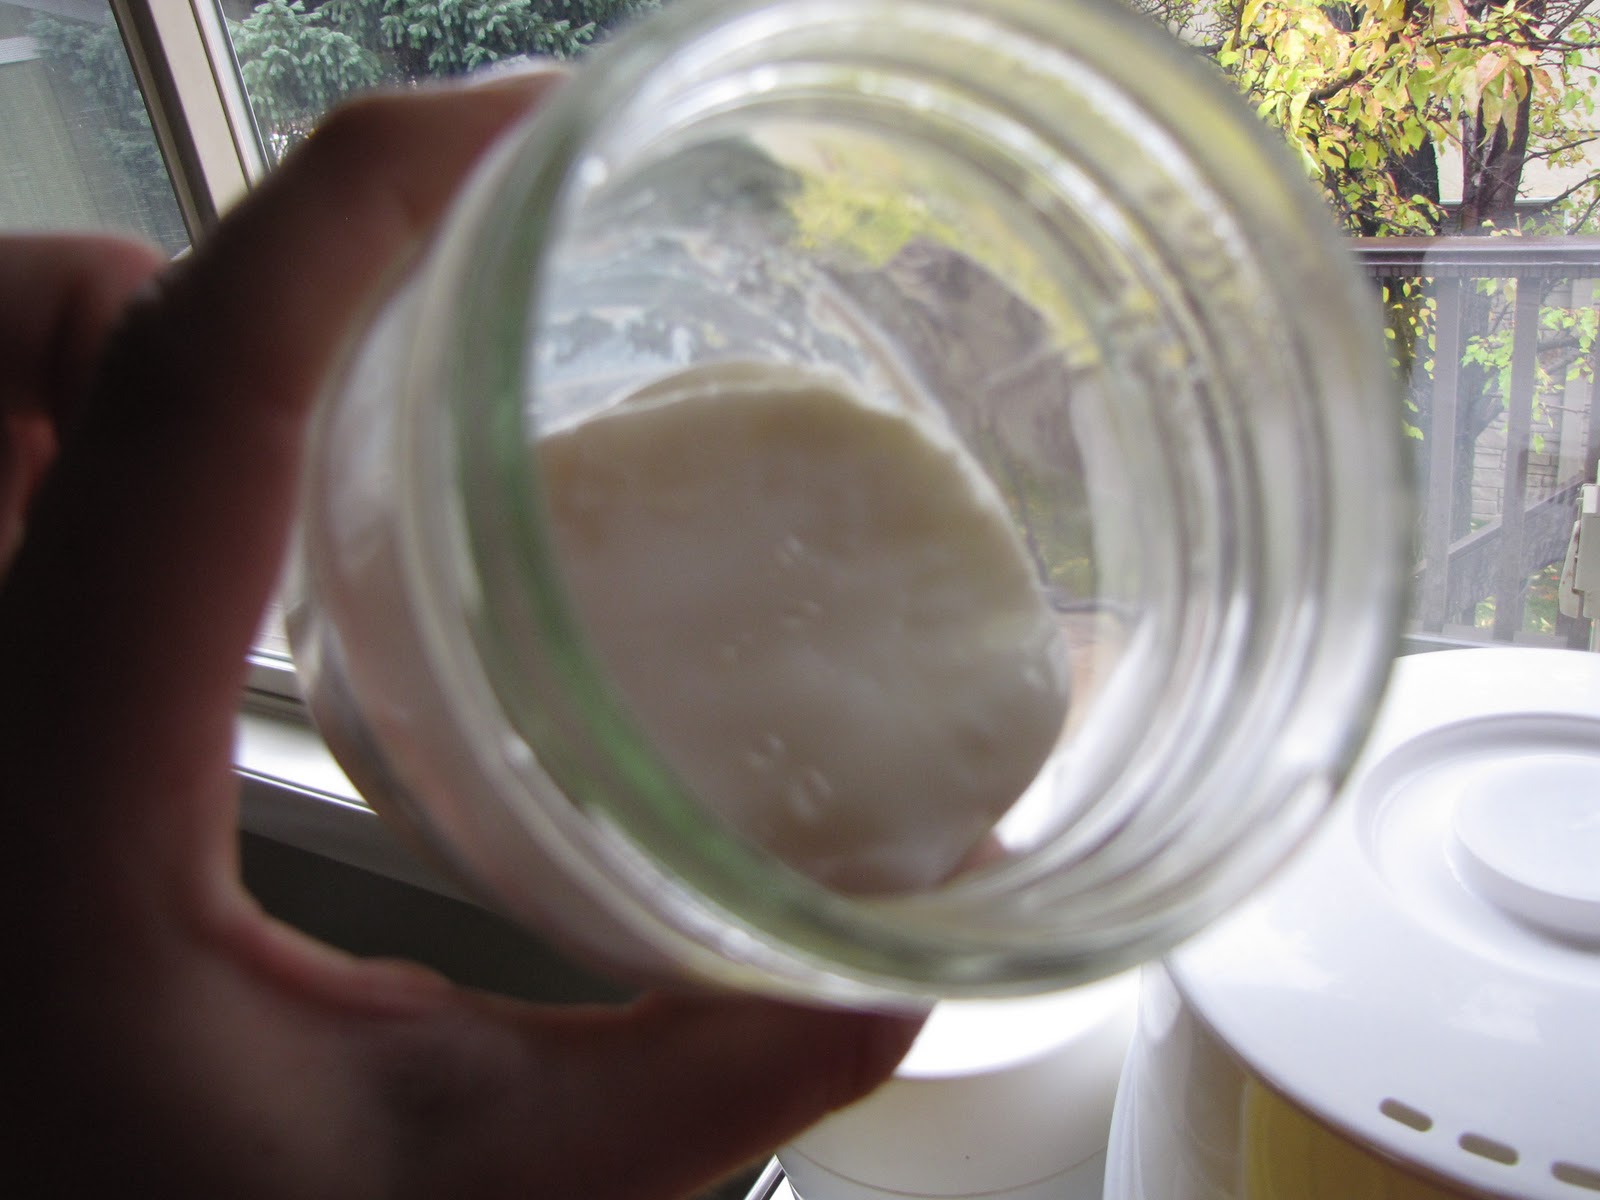
Here is my yogurt after about 24 hours of incubation.  It is now in the fridge cooling off.  I tasted it and it was smooth, creamy, and just sweet enough.


Powdered Milk Yogurt Recipe
3 3/4 C warm tap water
1 C non-instant powdered milk (milk from the cannery)
2-4 T plain yogurt with active cultures OR 3 Acidophilus tablets, crushed
1/3 C sugar
1 T vanilla


Combine the water and powdered milk in a blender or use an emulsion blender.  Scoop off the foam.  Add the sugar and vanilla and blend.  Add the starter to a little of the milk from the blender and stir to combine, then add back to blended milk.  Use a spoon and stir gently to combine.  Pour into a warmed quart mason jar and incubate.  Wrap tightly in towels and place in a cooler or use a thermal cooker.  Fill the thermal cooker with hot tap water and place mason jar inside.  If using a yogurt starter your yogurt will be ready after about 8 hours.  Place in fridge and allow to firm up.  The thermal cooker can take up to 24 hours.  I checked it about every 8 hours.  


I filled my jars with warm water to heat them up.


Now you can have yogurt anytime, even in an emergency.  The cooling of the yogurt after incubation could be done with a cooler that has been buried under ground (with the lid open at the top) or in cold storage, but that is a whole other post :)


Click HERE to view another post on how I made yogurt in my yogurt maker and even how I made yogurt cream cheese :)

Monday, February 4, 2013

Prepare Today Homemade- Creamy Baked Mac & Cheese

Print Friendly and PDFPrint Friendly
This recipe for Creamy Baked Macaroni and Cheese is one of my family's favorites!! I wrote this recipe down in my "to try" notebook and usually I write the source of where I found it, but I didn't make a note of the source.  I tried googling it but I couldn't find it either.  If anyone finds one similar please let me know so I can credit the cook who came up with this amazing dish!!

One of the foods that will become scarce quickly after a disaster will be cheese.  I have had a can of Honeyville's freeze-dried cheddar cheese on my storage shelf for some time now, and I finally opened it the other night.  My kids were begging for this dinner and I had run out of cheddar cheese, freeze-dried cheese to the rescue.  I have been to many classes at Honeyville where they use this cheese, and I have used the Mozzarella cheese, but never the cheddar.  This is a must-have storage item for everyone who eats cheese!!

This is what the cheese looks like in the can.  Doesn't it look exactly like shredded cheese?  If feels like a slightly drier version of fresh shredded cheese.  Now, the trick to reconstituting freeze-dried cheese is to use COLD water.  If you use warm, or hot, water you will get a big, melted blob of cheese.  
 I spread out the cheese onto a large plate and sprayed it liberally with cool water.  I tossed it a little with my hands and sprayed it again.  After about 5 minutes I checked it and tossed it again, and sprayed any dry cheese with more water.  Just a note, if you are adding the cheese to a dish that is creamy or has liquid, I would just toss the cheese right in and not worry about reconstituting it.  
 The ingredients for this recipe are pantry friendly and they also convert easily to a food storage friendly recipe as well.  If you're wondering how to get cream cheese from your storage, good news the Honeyville store in Salt Lake sells powdered cream cheese that would work great in this recipe.  Click HERE to see where to order powdered cream cheese if you don't live near the Honeyville store.  You can also make homemade cream cheese by straining plain yogurt for several hours in muslin or kitchen towel. Place the towel in a colander and set in a bowl.  Let drain 5+ hours until you get desired consistency.  (Kathy Ashman)

The freeze-dried cheese melted so well when I made the cheese sauce.  

 For the topping I love to use Ritz crackers.  They add the right amount of buttery goodness to the top of this dish.  I crush them right in the sleeve they come in.  Feel free to mix it up and add whatever topping you like on your mac & cheese. 

Stir the noodles and cheese sauce together.....

Top with more freeze-dried cheese and finish it off with the crushed crackers.

I forgot to take an "after" picture.  This is what was left :)


Baked Creamy Mac & Cheese
2 1/2 C elbow macaroni cooked and drained
1/2 C butter
1/2 C flour
1/4 t salt
dash of pepper
2 1/3 C milk (we use skim)
1/2 C broth
3 1/4 C cheddar cheese (or 3 1/4 C freeze-dried cheese)
4 oz cream cheese
1 sleeve of Ritz crackers, crushed

Preheat oven to 350°.  In a small saucepan over medium heat, melt the butter, stir in flour to make a paste.  Add the milk and broth slowly while whisking.  Stir and cook until the sauce has thickened.  Add only 2 1/2 C of the cheese and cream cheese.  Stir until heated through and melted.  Remove from heat and pour over macaroni.  Stir mixture until combined.  Pour into a greased 13x9 pan.  Top with remaining cheese and then the crushed crackers.  Bake for 30-40 minutes or until lightly browned.   

To make this a shelf-stable recipe:
  • Substitute freeze-dried cheese for fresh cheese in equal amounts
  • Substitute powdered milk, butter powder, and cream cheese powder for fresh ingredients (follow directions on can to reconstitute)

Monday, October 22, 2012

Prepare Today Homemade- Frozen Yogurt Bites

Print Friendly and PDFPrint Friendly
This isn't really a recipe, but it is something that I make for my children's lunches and I thought maybe you may like them too!  Frozen yogurt bites are really simple to make, all you need is yogurt of any flavor, silicone molds, and a freezer.  The silicone molds that I used can be found at Ikea for only .99!!  They have 4 different designs; heart, flower, starfish, and fish shape.  I used the starfish and flower this time around. 


 Hopefully they will stay semi-frozen until lunchtime in my kids' lunch boxes.  I added an ice pack to help them stay cold.  My 4 year old can't wait until lunchtime to eat these.  Fun, simple, and good too!  No need to buy those sugar and preservative filled yogurt treats from the store.  You can make them at home!  (I added a bit of red food coloring to homemade vanilla yogurt to make the flowers pink.)

Monday, November 21, 2011

Prepare Today Homemade- Homemade Yogurt

Print Friendly and PDFPrint Friendly
My sister and I are both active preppers and she will send me links to fun new preparedness ideas.  This time she sent me a link to a yogurt starter that once you start it, it goes on forever.  I thought it sounded too good to be true so I had to purchase it and try it.  Normally when you make yogurt you have to buy plain yogurt at the store with active yogurt cultures in it to use as a starter for making homemade yogurt.  You then heat milk, cool it, add the starter and then incubate for 8-12 hours.  So when I found out about Viili yogurt starter I couldn't believe that all you had to do was mix the powder starter (only 1/8th of a teaspoon) into 1 cup of milk and after incubating for 8-12 hours you have yogurt!!

 Let me introduce you to Viili Yogurt Starter.  It comes from the Cultures For Health company.  Click HERE to see the website.  When you get the starter it has a tiny amount of powdery stuff that you need to make into your forever starter.  

 That is the actual amount that comes in the package!!  Measure out 1/8th of a teaspoon and stir it into 1 C of milk.  Pour into a mason jar and use a coffee filter and rubber band to cover the jar.

 The only requirement of the yogurt is that it needs to stay around 72 degrees for it to cultivate.  The easiest way to do this is to put your jar in the oven with the light on and the oven door cracked open.  I do this overnight and the yogurt is set up in the morning.  


Once the yogurt is set (the yogurt will pull away from the side of the jar in one single mass) you need to use a mason jar lid to cover it and place in the fridge for about 6 hours before you will want to eat it.  

Now you have a starter that will go on and on, kind of like a sourdough starter.  You do need to use the starter about once a week to make new yogurt or it will get old, but other than that it is so simple.  To make your yogurt just use 1 T of the starter to 1 C of milk and stir, then incubate in the oven just like the starter.  You can do up to 4 T and 4 C of milk at one time.  The 4 C of milk will fit nicely into a quart mason jar.  Just remember to take out your 1 T for each cup of milk to use for your next batch before you eat it.  Every Sunday night I make at least one more cup of yogurt to have ready to go.  Watch the video for detailed instructions.


 I have used this yogurt in baking and it works so well!  My kids also loved it.  My 3 year old even ate it when I didn't set it long enough and it was soupy.  My only advice in making this yogurt is to not let it get to hot or too cold or it won't set up.  To order the starter click HERE.

"Have Faith, Unencomber your life, Lay up in store"  Keith B. McMullen

Saturday, January 9, 2010

Powdered Milk Continued.......

Print Friendly and PDFPrint Friendly
Today's post comes from a friend of mine who knows everything there is to know about powdered milk. Keep an open mind as you read through the recipes and don't think that it is too difficult to make yogurt or cottage cheese. 
(information below from Jodee Packer)


There are several varieties of powdered milk (of course, there are flavored ones as well -- like chocolate!). Storage temperature is very critical in the long term keeping of powdered milks. The cooler, the longer it will keep the flavor on the palatable end (of course, using nitrogen pack/oxygen absorbers as well). Using a bucket or very large container for storage does work -- but it must be used more rapidly than that quantity in smaller containers due to exposure to oxygen upon opening. Mylar pouches or cans are ideal for most people. Keep sealed tight once opened -- moisture in the air will cause clumping. 

Regular nonfat (non-instant):
  • more expensive, but you use less product
  • averages about .80 cents per gallon of skim milk when reconstituted

This is the product sold by the LDS Cannery and several other companies. It is a dense dairy dehydrated milk powder that generally takes a bit of good mixing to get it to dissolve back into water without lumps -- using a blender or a whisk. It is milk that is basically spray-dried and put through one pass in the dehydration process. For the best flavor, shelf life is 3-5 years. After that, the flavor can start to definitely go down hill, although it is still usable for up to 10+ depending on storage environment. It can be used in all cooking. Do make sure it is well blended into dry ingredients when added in as a powder, or you can get powdered milk lumps. This can be sold as fortified and not fortified with vitamins A and D. Be sure and get one fortified, as these vitamins help with proper nutrient absorption.

Non-Instant Milk /Instant Store Milk
(picture from Adventures in Self Reliance)

Instant nonfat:


  • cheaper to buy, but you use about twice as much in the long run

There is large crystallized versus small crystallized that is more of a powder in appearance. The product sold by the grocery stores is mostly large crystallized granules (Carnation, Smiths brand, etc.) and milk purchased this way is the most expensive per pound. In large bulk bags, like Maple Island, Country Cream, Country Pride, Best Pack, and Walton (Humboldt) brands -- these are just dehydrated like the regular, but run through the process a second time in order to make a slightly larger size of the powder than the regular -- so it is lighter and airier and thus dissolves into water more readily than the regular. For the best flavor, shelf life is 3-5 years, after that, the flavor does start to change, but just as with the regular, it still can be used for years even if the flavor is off. Can be used in all cooking. Same as with regular nonfat milk, this can be sold as fortified and not fortified with vitamins A and D. Be sure and get one fortified, as these vitamins help with proper nutrient absorption. 


Whole: This is powdered milk with the milk-fats left in and usually runs around 4% milk fat when reconstituted. Because of this fat, it has a very short shelf life -- closer to 3 years nitrogen packed. Several sources recommend storing this powder refrigerated. Maple Island does make a whole milk powdered product in addition to their nonfat products (www.maple-island.com). This would be an excellent item to have on hand with younger children or children with health concerns requiring higher caloric intake.

Whey based: Morning Moo is an example of this type of product. They use the sweet dairy whey as the base and then add in vitamins A & D to fortify the product to come up with a milk alternative drink. This is dissolved into tepid hot water and then cold water can be added. Shelf life usually runs about 5 + years based on temperature stored. It can be used in recipes that call for fluid milk except puddings, ice cream and yogurt (note: Morning Moos milk contains less fat than whole milk and will not set up in products that need fat as a thickener). Although Morning Moos milk takes hot water to mix the ingredients, a very small amount of hot water is needed, only one cup to dissolve the ingredients for 8 c of milk. During freezing temps and if you don't have ready access to warm water -- you might want to consider a solar cooker set up to warm up your water to dissolve this product.


Soy and rice based: For those allergic to milk from cows, soy based and rice based products are available. Generally, they are very expensive and hard to come by in the powdered form. It is most often readily available only in the fluid fortified form -- not the powder for making up yourself. However, it is possible to get the powdered product, but it is pricey and hard to come by. You can also just make your own milk from rice or soybeans, but it will not be fortified (directions located in several cookbooks and websites). Alternate sources for calcium intake need to be evaluated. Sources for those with allergies or concerns: Dixie's Soy Milk : 1-800-233-3668 ext. 300, www.dixiediner.com; Better Than Milk : Rice or Soy 1-800-227-2320 by Fuller Life Company; Soy Quick by Ener-G 1-800-331-5222; Trophic's Best (Tofu Delight) by the Blue Chip Group 1-801-263-6667. These can be made yourself, but again, evaluate for calcium levels and supplementation. Foods made with low fat powdered milk will have fewer calories and less cholesterol than those made from whole milk. Adding additional powdered milk to the recipe will enhance the nutritive value of the recipe without increasing fat content. So, for children struggling to eat enough calories, adding extra powdered milk in with the dry ingredients is definitely a great alternative.

Reconstituting Powdered Milk

This is a table I Use for replacing powdered milk for regular milk in my recipes.

 
*1/4 cup milk = 1/4 cup water & 1 1/2 Tablespoons Powder Milk

*1/3 cup milk = 1/3 cup water & 2 Tablespoons + 1 Tsp. Powder Milk

*1/2 cup milk = 1/2 cup water & 3 Tablespoons Powder Milk

*1 cup milk = 1 cup water & 1/3 cup Powder Milk

*1 quart milk = 3 3/4 cup water & 1 1/3 cups Powder Milk

*2 quarts milk = 7 2/3 cups water & 2 2/3 cups Powder Milk

*1 gallon milk = 15 1/2 cups water & 5 1/3 cups 


Powdered Milk
The table above will help you work out the amount of powdered milk you will need to prepare a specific measurement of liquid milk. 


Here are some tips to help the milk turn out as fresh tasting as possible: Fill your pitcher or container with half the amount of water you will be using. Measure in the appropriate amount of dry milk powder. Stir to dissolve. Fill the pitcher with the balance of the water called for above. Stir again and chill. Use cool water when possible. The powder tends to dissolve more readily in cool water. Stir the milk a lot, to dissolve the milk powder. Then let the milk sit for a little while and stir again. The protein in the milk powder blends most easily if it gets a chance to stand after mixing. Powdered milk may be used immediately after mixing if desired. For the best flavor chill the milk for at least 4 hours or overnight.


Homemade Cottage Cheese

This is the best and easiest recipe. Tastes just like the stuff you get in the store for a fraction of the cost. The best part - it only takes 5 minutes or less to make!
2 cups water
3 Tbsp lemon juice or white vinegar (vinegar is cheaper and stores better, either one is fine to use, the taste isn't affected either way)
3/4 cup dry milk powder (non-instant like from LDS cannery)
OR 1 1/2 cups instant (country pride or stuff from grocery store)
If using dry milk powder, blend water and dry milk together and heat in a saucepan until it starts to steam, stirring constantly, then remove from heat; or place in microwave and heat until it foams and rises to top of bowl. If using instant milk, bring water to a boil and remove from heat, then stir in milk with a wire whisk. DRIP juice/vinegar around the edge of the pan and gently stir, milk will immediately start to curdle, separating into curds and whey. Let rest 1 minute. Pour into a colander, rinse with HOT water, then rinse with cold water and break apart into as small of curds as you want. (do this for about 1 minute until no whey drips.) Makes about 1 1/2 cups curds. Add sour cream or yogurt to cream. Add salt to taste. Use non-instant dry milk powder for ricotta and instant for table use or when you are in a hurry.


Broccoli Soup
Serves 8 cups
3 cups broccoli, chopped
1/2 cup celery, diced
1/2 cup onion, chopped
2 cups chicken broth
4 cups milk (4 C. water + 1 C Powdered milk reconstituted)
4 T cornstarch
1/2 t salt
2 pinch pepper
2 pinch thyme, ground (I skipped this and it tasted great)
1/2 cup cheese, cheddar or swiss, grated (I used about 1 cup)
Place veggies and broth in saucepan. Bring to a boil, reduce heat, cover and cook until veggies are tender, about 8 minutes. Mix milk, cornstarch, salt, pepper and thyme; add to cooked vegetables. Cook, stirring constantly (or it will scorch pan), until soup is slightly thickened and mixture just begins to boil. Remove from heat, add cheese and stir until melted.

Powdered Milk Yogurt Recipe

There are many uses for yogurt beyond the obvious. Here are some of the ways we use it: mixed with granola, as a sour cream substitute, to make smoothies, to make fruity yogurt Popsicle, to make salad dressings, to make yogurt cheese, etc. Times do not reflect the incubation period.
10 min 10 min prep

SERVES 6 -8 , 1 quart

  • 3 3/4 cups warm tap water
  • 1 cup powdered milk (non-instant)
  • 2-4 tablespoons Dannon plain yogurt (LIVE CULTURES REQUIRED)
  1. Combine the warm water with the powdered milk and place in a medium saucepan. (I sometimes blend some of the water with the powdered milk in my electric blender to make it smooth or use an emulsion blender.)
  2. (You could add 1/3 C sugar and 1 T vanilla extract at this point for vanilla yogurt. Try other flavorings too.).
  3. Heat the milk mixture to 180 degrees or until small bubbles form on the side of the pan and the milk begins to rise up (about 5 minutes.).
  4. Pour the scalded milk into a pitcher and allow to cool to 100 degrees (about 50 minutes). When the milk mixture has cooled to 100 degrees, stir in the yogurt starter (Dannon yogurt).
  5. Pour the yogurt into a clean quart canning jar and cover with the lid. Wrap the jar in a towel or blanket and place in a Styrofoam cooler. Be sure it is wrapped tight without any room for air to circulate around the jars. Pack it snug. Let the yogurt incubate in the box for 9 hours.
  6. Remove the jars from the hay box and place in the refrigerator for up to 3 weeks.
  7. Note: You can add a couple T of your favorite fruit jam in the bottom of the glass jars before pouring the unset yogurt mixture into the jars.
  8. Save a bit of the yogurt from this batch (before adding any sugar or flavoring or it won't set) to use as the starter for your next batch - so you don’t have to buy the Dannon Yogurt again. Well, at least not for a while. Eventually you might want to start with a fresh starter as the taste will get stronger with each batch (about every third or fourth time).
  9. You can buy a large container of Dannon Yogurt and freeze the unused portion in ice cube trays to use for later yogurt batches.
  10. Chill.

Cream Cheese/Yogurt Cheese: Line a colander with a clean, damp piece of cloth. Pour prepared yogurt into the cloth. (Remember not to add sugar or vanilla if making sour cream or cream cheese.) Allow the yogurt to drain overnight. In the morning the remaining solids will be yogurt cheese. They can be used anywhere you would use cream cheese or thick sour cream.

With practice you can also make Ricotta or Cottage cheese and with more practice and a Rennet tablet you can make mozzarella.
**These recipes may seem time consuming and maybe even intimidating, but they are so useful. You don't want to wait for an emergency to have to learn these skills so please challenge yourself to try at least to make yogurt. I have a yogurt maker that the yogurt mixture goes in to incubate. I love it and the yogurt is so much better than store bought. (Check the instructions that come with your maker because my recipe is slightly different than the one above) If I can make yogurt then anyone can!! I am not a great cook but I figured it out and it is easier than making bread :)

January Self-Reliant Goals:

Storage Goal: Powdered Milk 16lbs PP

Non-Food Storage Goal: Bleach 1 gallon per person. This will be used for cleaning and water purification.

72-Hour Kit Goal:Gather a change of clothes including underwear and shoes for every family member. Include warm coats and boots or have them immediately accessible. Also put $20 in cash in small bills in your kits.

Enjoy the journey!
Enjoy the blessings!
Feel the peace!!

Related Posts Plugin for WordPress, Blogger...