Wednesday, April 29, 2015

Baked Cheesecake in the Thermal Cooker

Print Friendly and PDFPrint Friendly
You're going to think I am obsessed with cheesecake but I came across a recipe for cheesecake in a slow cooker and I wanted to try it out in my Saratoga Jacks Thermal Cooker ( Click HERE to see what a thermal cooker is.) using the smaller cake pan insert for the cooker.  I haven't had the best of luck baking cake in the cake pan so I was hoping this cheesecake recipe would break my losing streak.  

All good cheesecakes start off with a graham cracker crust.  I used homemade graham crackers from this recipe HERE.  Melt 3 T butter and mix with the graham cracker crumbs.  I mushed it all together in the bag...less mess...easy clean up.


Three ingredients...that's it...three!  That's all this recipe needs. 

Mix the cream cheese, sugar, and eggs, pour over the crust and it's all ready for the boiling stage. 

 The thermal cooker is all about the hard boil.  Bring the food to a hard boil, place in the thermal base, and it will slow "cook" for hours.  
  1. Fill the larger pot with water to about 1 cm above the trivet (it comes with the cake pan).
  2. Place the covered cake pan on top of the trivet and bring the water to a hard boil.
  3. Lower the heat but keep the water boiling and boil for 20 minutes. 
  4. Place the pot into the thermal base.
The directions I used were given to me by Amy from Saratoga Jackes for baking a cake in the thermal cooker, but I felt a cheesecake was close enough to a cake and needed similar instructions.  If that rings true the cheesecake should've been done in about an hour and a half, and I put the cake pan in the cooker at 9:30 am. What is really cool is that I wasn't home all day and the cheesecake didn't get taken out until 4:40 pm and it was not overcooked.  The thermal cooker will keep your food warm and ready to eat, even when the "done" time was hours before. 

  This cheesecake was DELICIOUS!!!  It was creamy and had just enough sweetness!  My husband and kids loved it!  It's a keeper!!

Thermal Cooker Cheesecake
3 packages cream cheese, softened (I used low-fat)
3/4 C white sugar
3 Eggs
6 graham crackers, crushed
3 T melted butter

Mix the graham cracker crumbs and melted butter and press into the bottom of a greased Saratoga Jacks cake pan.  Blend the cream cheese and sugar in a bowl using a hand mixer.  Mix in each egg one at a time, blending well after each egg.  Pour mixture over graham cracker crust. Place the cover on the cake pan and lock.  Put the cake pan into the larger cooking pot with the trivet in place and water filled to just 1 cm above the trivet.  Cover the cooking pot and bring to a boil.  Keep boiling for 20 minutes.  Remove pot from heat and place in thermal cooker base and close the lid.  Let sit for at least 1 1/2 hours or up to 8 hours.  Remove the cheesecake from the large cooking pot and let cool on the counter for 30-60 minutes.  Then cool for several hours in the fridge.  Slice and serve with fruit toppings. 

My next challenge will be making this with shelf stable cream cheese powder, butter, and eggs :)

For the slow cooker recipe click HERE

Saturday, April 25, 2015

Self-Reliant Saturday-- Storage Room Inventory

Print Friendly and PDFPrint Friendly
Inventory....it's a dreaded word....but it had to be done!  I finally got around to taking inventory of my storage room.  In January I challenged all of you to organize your food storage  and I knew that right on the tales of organization rides the dreaded inventory. I may have procrastinated this job until almost May :)

 This week's goal is to really take a good inventory of what you have in your storage area or pantry.  

I focused on my longer-term #10 cans and buckets.  These are the two items that I have for extreme emergencies and not really every day use.  I counted all of my #10 cans and all of my buckets and it only took 2 hours :)  I decided that my smaller soup can size cans get used much quicker, and I would be updating the inventory list almost every day to keep track of them all.  That is just too much work for me.  But with this inventory I at least know exactly how many #10 cans and buckets I have on hand.  

 Now I need to calculate exactly how long we could live off of this food.  That is the scary part...it probably isn't as long as I would hope.  But it is a starting point and I can add to this list every month.  Slow and steady wins the race :)

Oh, and I also finally put together my rotating can thingys (real technical).  I have put this off for over two years because I really don't like dealing with all the parts and snapping them together.  One part always seems to be just off enough that the can won't rotate fully down.  But it got done and I love how organized it all looks! (FYI:  the technical name of the rotating can thingy is the Cansolidator from Thrive Live.  Click HERE to see their products.)
It feels good to get this project done but the real challenge will be keeping it updated.  I also discovered a really cool food storage calculator on the Thrive website. Create a Thrive planner just for you and your family.  Type in your family info, how many calories per person, and the length of time that you would like to be prepared for, and it will calculate how many cans you will need.  Click HERE to set up your planner. I thought it was a really great resource to know exactly how many cans I will actually need to feed my family a well balanced diet for a whole year!  Let's just say....I have some work to do :)

Tuesday, April 21, 2015

LDS Cannery Powdered Milk....Now Online!

Print Friendly and PDFPrint Friendly
Every month I try to order one or two items for my food storage from the LDS Church online. (lds.org) When I got online to order my oats guess what is now available..... non-instant powdered milk!!!  It wasn't previously available online.  I am sooooo excited!  I make yogurt with this milk and many other things, but I am so happy that it can be delivered right to my door, instead of driving all the way to the cannery in Salt Lake....it comes in a case of 12 28-oz pouches for $67.00.

Click HERE to see the milk.  Some don't care for this powdered milk as a drink, but there are so many other ways it can be used.  I use if for...


And any recipe that calls for milk. For 1 cup of milk= 1 cup of water + 3 T of powdered milk.  There have been so many nights of making dinner and I am out of milk.  Powdered milk to the rescue.  It's a great, affordable, powdered milk!!!
 

Saturday, April 18, 2015

Self-Reliant Saturday-- We Cannot Allow Oursleves To Slumber

Print Friendly and PDFPrint Friendly
Do we find it hard to wait and be prepared always? Sometimes it is hard to not really know why we prepare.  Sometimes it is just best to obey.


Thursday, April 16, 2015

The Great ShakeOut Happened!

Print Friendly and PDFPrint Friendly
Did you practice for the "big one" at 10:15 this morning?  In Utah we had a statewide earthquake drill and most schools, businesses, and homes participated.  At my home all my children are in school, except for my oldest, who only has one class at the high school.  So she got nominated to be my earthquake drill model :)

So if the big one happens.....remember to DROP....COVER...& HOLD ON to the closest big piece of furniture.  Practicing the drills now will hopefully become second nature when you need it in an emergency!!

Tuesday, April 14, 2015

The Great Utah ShakeOut 2015

Print Friendly and PDFPrint Friendly

Thursday, April 16th at 10:15 am there will be a statewide earthquake drill in Utah.  It's a great way "to prepare and survive and recover quickly from an earthquake."  

Check out the Great Utah ShakeOut website HERE and sign up for the ShakeOut on Thursday. Many schools and local businesses all participate and I love knowing that we, as a state, are preparing for "the big one" here in Utah.  

The main message for the ShakeOut is to....
So wherever you are at 10:15am on Thursday morning...drop...cover...and hold on.  Click HERE to view a great PDF of what to do in an earthquake, it outlines what to do in many different scenarios. And click HERE to view a previous post on earthquake readiness. The planning and practicing of drills is what will make a difference in survival during an earthquake.  Don't become passive in this type of preparedness!  We never know what will be in our future and it will only bless our lives to have prepared before anything happens!!!

Saturday, April 11, 2015

Self-Reliant Saturday-- Free Water Storage

Print Friendly and PDFPrint Friendly
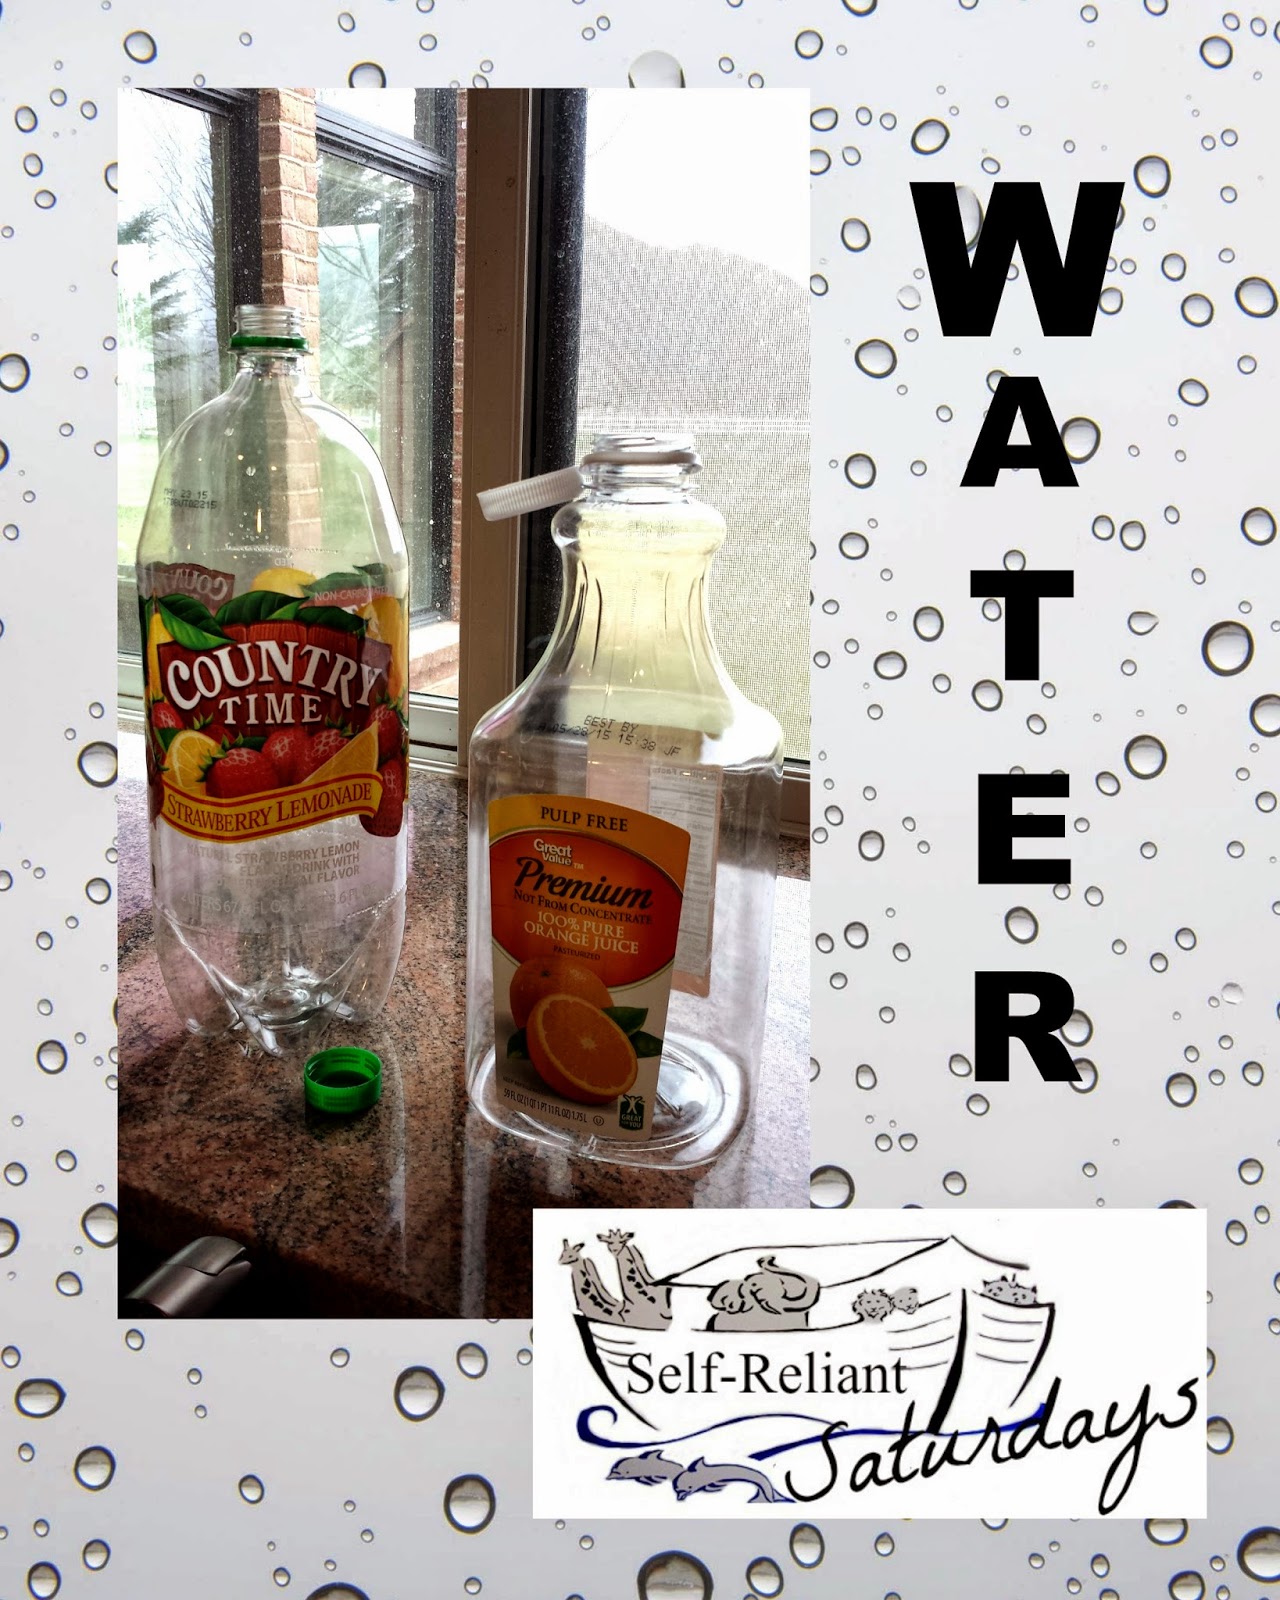
Has there ever been a time when you felt you had too much water storage?  Yup...I didn't think so.  Lucky for us, water storage is cheap and sometimes free!  There are many containers that work great for water storage and they can be found at every family party and get-together.  

 Soda isn't consumed in my home so it is rare if we have 2-liter bottles hanging around.  But for birthdays and holidays we do like lemonade and sometimes orange juice.  The empty bottles are perfect for water storage containers.  I rinse them out, add a little bleach and swirl, then fill with water from my tap.  Instant water storage!!  The next time you are at a family party, or any party, ask for the empty soda/juice bottles and your water storage will expand for almost pennies, if not free!

Saturday, April 4, 2015

Self-Reliant Saturday-- Case Lot Time!

Print Friendly and PDFPrint Friendly
Happy LDS Conference Saturday! The goal for this week is to pick up a case or two at the....

This goal is mainly for Utah residents, I think Nevada also has case lot sales, but our Kroger stores (Smith's) are having their semi-annual case lot sale.  Take a moment and pick up a case or two that your family will use!  And heads up if you have a Macey's grocery store near you, it is rumored that they will be having a case lot sale later in April.  Those of you outside of Utah, pick up an extra can or two of the foods your family eats.   Happy prepping!
Related Posts Plugin for WordPress, Blogger...