Showing posts with label grains. Show all posts

Saturday, January 10, 2015

Everything In Its Place...Organizing The Storage Room

Print Friendly and PDFPrint Friendly
How are all of your January resolutions going? Did you read my last post on my food storage goal for 2015?  Click HERE is you missed it. Since it's still January, I'm going to continue with the organizing theme.  Remember...

A house of order can transcend to all aspects of our lives, but let's start with our food storage.  I hope you were all able to accomplish the organizing assignment in the last post.  The assignment was to inventory your food storage pantry or storage room.  This may seem monumental but I promise it will help in the long run of having a useable food storage system.  (Scroll down the page to see a picture of how I keep an inventory on a white board of all my #10 cans.)


After inventorying your food and supplies the next step is to organize your food into a system that functions for you.  
I am going to show you what works for me and what keeps my food rotated and useable, but there are many other ways to organize your food storage and I'll mention those at the end of the post. 

I have been blessed with a large storage room where I keep all of my extra smaller cans, #10 cans, bulk foods, paper goods, etc.  This is the room that I go to when I need to refill the containers in my kitchen pantry.  The pictures in this post are going to be dark, I apologize but there isn't any natural lighting in this room. Which is a good thing for food storage!  Remember that light, temperature, moisture and bugs/pests all need to be considered when you pick an area for your food storage. 

In my storage room I try to group "like" items together.  That way I usually know where everything is and goes.  I group my #10 cans in a different area then my smaller cans.  The smaller cans are stored in my kitchen and I only keep them out in the storage room when I have too many to fit in the kitchen. 

This is a small sampling of how I organize my #10 cans of dehydrated and freeze-dried foods. 
I have most of my fruits and veggies grouped together.  This helps with knowing how much I have, but it also helps my kids know where things are when they are sent out to the storage room to grab something for me.  The powdered milk and other dairy items like sour cream powder, buttermilk powder, powdered eggs, freeze-dried cheese, powdered shortening, and powdered butter all get stored together.  I also have baking supplies like baking powder, baking soda, and cocoa powder on that shelf.  There is actually a shelf below the milk shelf and it holds my salt, oils, cornstarch and any other baking items that I might buy in bulk.  

How do you store oddly shaped containers, like condiments?
I use the free boxes I get from case lot sales and food storage retailers to group them all together on a shelf.  I also live in earthquake territory and I feel this gives me added protection if the room started shaking.  I really need to instal a small lip on my shelves so things don't go sliding off, but that is on the to-do list :)

All of my bulk items like wheat, oats, rice, sugar, etc. are stored in buckets around the perimeter of my storage room.
I love gamma lids!!  They make it so easy to open and close, and it doesn't feel like such a chore when I need to refill my kitchen pantry containers.  It is very dry where I live so I don't use the mylar bags inside of my bulk buckets.  I pour the bulk bags directly into my buckets.  And I am also comfortable resting them directly on the concrete.  Some may not feel comfortable doing that, but my room doesn't fluctuate in temperature too much and the concrete doesn't get wet.  I feel the chemicals from the concrete are not leaching into my buckets.  This is one of those examples of what works for me may not work for you ;)

And finally, this is how I keep track of all those #10 cans of food.
In all honesty here....this is my goal....to update this white board.  Notice I didn't take the picture too close...haha.  This proves I'm not perfect and I need a food storage refresher too.  The cans that get used the most are the fruits and veggies, so they need to be updated first.  But this is how I keep a visual of what I have.  Some cans are things that I won't use unless I absolutely have too, like the canned cheese and butter.  But having it listed on the board with hash marks allows me to know at a glance what I have in my storage room.  

Other Food Storage Options
 Some people may like using the commercial can rotater systems, but I don't have the room for them.  I have found that I can easily add newer cans to the back of my shelf without having a rotating shelf.  But you can decide if that will work for you.  You can also store like items together or groups of ingredients into complete meals.  Like the meal in a bag idea. Or maybe you like to make meals in a jar. Or maybe storing your food like the grocery store, with different types of food together, like Italian, Mexican.  I know of some people who like to store their food according to breakfast, lunch, or dinner meals.  It's all up to you!! It is really up to what works for you so you will USE your food storage!

Remember this rule with any food storage system....
F.I.F.O


This is how you rotate your food!  Always place the newer foods in the back.  This may seem tedious and hard to do but knowing you are using the oldest food first will save you a lot of $$.  Take the few minutes when you buy your food to put them in the proper place...behind the older food! 

Food Storage in Smaller Homes 

Many of us may live in smaller homes or apartments.  How is is possible to have food storage....and to store the larger amounts of food needed?
  • Think of the space under the beds in your homes.  For long-term foods (#10 cans that lasts 20+ years) they can be stored in their boxes under a bed.  Think about taking the bed off the frame and using the food storage as the base.  The food from the cannery like rice, wheat, oats, powdered milk, would all work great for this option.  They don't need used as often. 
  • Do you have extra space above your kitchen cabinets?  This unused space could easily store cans of food.  
  • Instead of end tables, place stacked cans under a tablecloth and use a wood or glass topper to create a small table.  
  • The space behind your sofa and the wall can hold food storage as well.  It can be covered with a cloth or if you know someone handy, they could build a cover for it out of wood. 
  • Do you use all that extra closet space on the shelf above your clothes?  Think of how high you could stack #10 cans if they went all the way to the ceiling of the closet.  
  • Buy several over the door pocket hangers, that are made for shoes, and you'll have a great area for smaller items. Think of all the doors and closets that you have and think if an over the door organizer would work there.  
**All of the above ideas take organization to a new level.  You will need to have a record of what you have stored and where you put it.  Keep a notebook with every item listed, where you put it, how much you have stored, and the expiration date.

It takes a little creativity and thinking outside of the box, but I know if you make it a priority to have your food storage you will be blessed.  Thoughts and ideas will come to your mind as you pray to know how to prepare for your family.  

Monday, August 4, 2014

Feast or Famine?

Print Friendly and PDFPrint Friendly


Feast or Famine?  Which are you choosing in times of distress or emergency?  I know which one I choose!  

In the LDS church we have been counseled for many, many years to have a one year supply of food and supplies on hand for rough times ahead.  But for so many, a year supply of everything we eat and use on a daily basis is pretty much impossible.  I think we often overlook the fact that the one year supply foods we are counseled to have are meant to be survival foods, foods that will keep us alive in a time of emergency.  We are not to have a year supply of every single food and non-food necessity that we use on a daily basis.  Ingredients such as wheat, oats, rice, beans, powdered milk, sugar/honey, etc. are considered long-term (25-30 years in #10 cans) supply foods. They will keep you fed but they will not fatten you up.  Think of a one year supply as survival food, not the pop tarts the kids like for breakfast. Your 3-month supply will be the normal foods that you use on a regular basis. 

What recipes could you come up with, using only the basic long-term ingredients?  It won't be fancy, but it would keep you alive!

If you read the information in the link below you'll notice that the list of foods for long-term storage come from the grain category. Remember to store the long-term grains your family will eat. But also think of alternative ways to use items that are nutritious but maybe your family doesn't care for.  If your family doesn't like cooked beans, store dried beans and grind them into a bean flour and add them into baked goods.  It will add fiber and protein to breads and other baked goods.  Take stock TODAY and see where you could add a little more.  And learn to use these ingredients, don't store them away for 30 years.  I can only beg for so long for you to get your food storage :)  


Click HERE to read through the very informative booklet put out by the Utah State University Extension services called Cooking With Food Storage Ingredients.  It's full of great information and recipes using basic long-term food storage.

Friday, June 7, 2013

Food Storage In A Bottle

Print Friendly and PDFPrint Friendly
While shopping the other day I noticed these 3L water bottles.  

 What is so cool about them is they stack!!!


They would work great for storing dry goods, beans, rice, wheat, etc.  Throw in a oxygen packet and they are good to go!

This is a view of the bottom to show you how they stack.  They are 3 liter bottles and they were only $1 at Walmart.  I also saw them for $.78 at my local grocery store.  Totally affordable and then you are also only drinking water to empty the water bottle and not soda!! I am always asking family for their soda bottles because I don't want to drink the soda or pour it out.  I haven't blogged for awhile, life has been CRAZY, and when I saw these I had to post about them.  They are a great idea for water storage, but also for dry goods and I was so excited.  (doesn't take much does it :)

Monday, January 7, 2013

Prepare Today Homemade- Quinoa "Mac" & Cheese

Print Friendly and PDFPrint Friendly
I was bored one afternoon and I only had 3 people (versus the 7 I usually feed every night) to feed for dinner and I didn't want to cook one of our usual meals.  I found Quinoa Mac & Cheese on pinterest and it sounded way to good to pass up. I switched a few things up and with my 4 year old helper, we made it for dinner, and it was really good.  It smelled so good as we put it in the oven. 

I cooked the quinoa in my rice cooker while I assembled the rest of the ingredients and sauteed the veggies. Use a 2:1 ratio when cooking quinoa 2 C water to 1 C quinoa.  I cooked 2 cups of quinoa and 4 cups of chicken broth (for flavor).  Make sure to rinse your quinoa really well in a fine strainer berfore cooking, or you will have a very bitter taste to your meal.  We know from experience.  :)

I had quite a few veggies left over from a previous dinner.  I am sure all of your kids eat all the veggies that you cook, but we had leftovers ;)  I chopped them up super fine so no one would be picking them out of the dinner.   I sauteed them in a teeny, tiny little amount of olive oil before adding them to the other ingredients.  

  The spices for this dish were all in my cupboard and hopefully you have them on hand as well.

Here is my helper.  She begs every night to help with dinner.  It is hard sometimes to slow down and let her help, but she is so thrilled when I do let her cook.

  I used powdered eggs to bind everything together in this recipe.  I don't know what I used to do before I started using powdered eggs.  They are so handy to have on hand. 

After everything is combined, add a cheese topping and then...

We crushed some Ritz crackers for a topping, but you could use panko crumbs, bread crumbs, saltine crackers, or even corn flakes.  They make a yummy, crunchy topping on this casserole.

Quinoa "Mac" & Cheese
2 C quinoa, rinsed very well, and cooked (on the stove or rice cooker)
1 C finely chopped mixed veggies (leftover works great!!)
1 t olive oil
2 T powdered eggs + 4 T water
1 C milk
1 1/2 C cheese, plus more for the topping
1/2 t salt
sprinkle of pepper to taste
1/2 t garlic powder
1/2 t seasoning salt (I used McCormick's season all salt)
red pepper flakes to taste
1 1/2 C crushed crackers, bread crumbs, or corn flakes cereal

Preheat oven to 350°.  Cook quinoa on the stove top or rice cooker.  Meanwhile saute veggies in oil until warmed through but not brown.  Set aside.  In a bowl, combine the eggs, milk, salt, pepper, garlic powder, season salt, and red pepper flakes. Mix until combined.  Add in the veggies, quinoa, and cheese.  Stir and pour into a greased 13x9 pan. Sprinkle with cheese and then the crushed crackers.  Bake at 350° for 25-30 minutes.        

Make this a food storage meal:
  • use dehydrated or freeze dried veggies
  • use 1 C water + 3 T powdered milk for the 1 C of milk in the recipe
  • use freeze dried cheese in place of perishable cheese
  • cook in a Sun Oven or a Volcano stove with a Dutch oven

We loved this dinner and you actually couldn't even tell there were veggies in it.  Not one of my kids mentioned anything about veggies in their dinner, or picked anything out of it.      

Friday, September 21, 2012

Honeyville Grain's New Store!!!

Print Friendly and PDFPrint Friendly
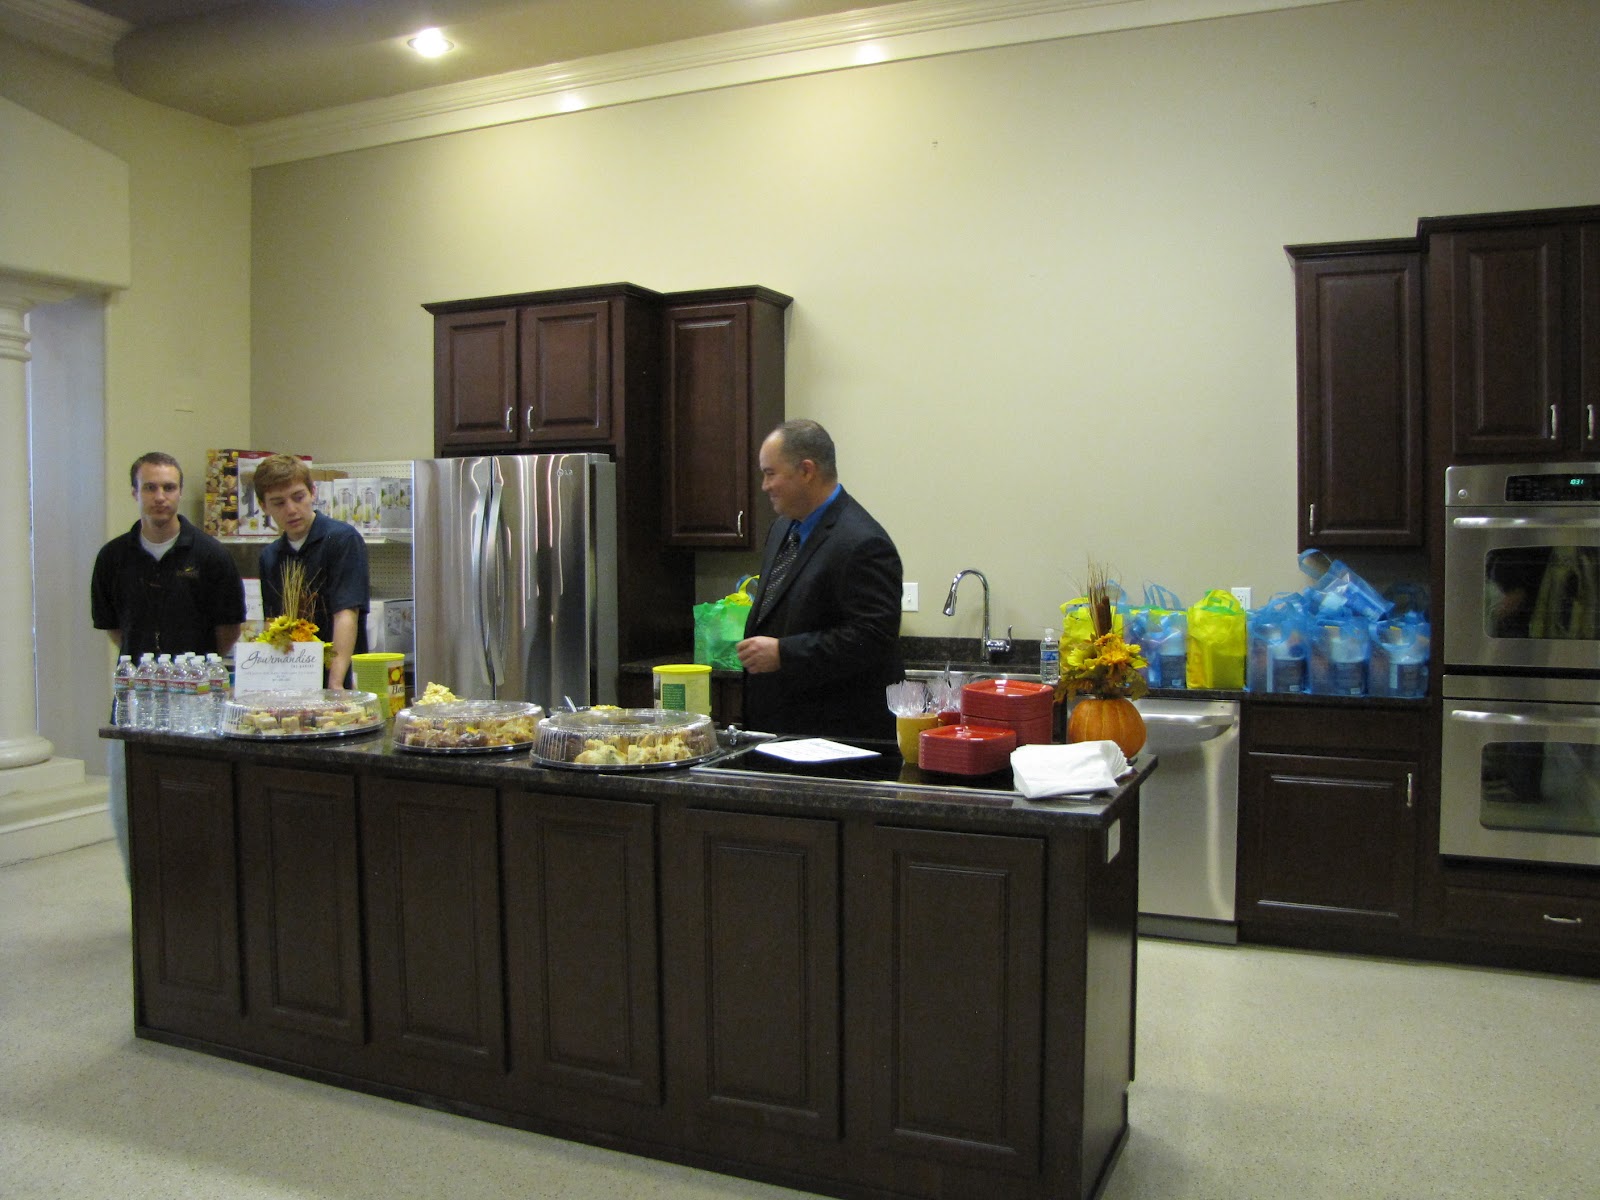
If you don't know, I am a HUGE Honeyville Grain fan :)  I love the people, the products, and the preparedness mindset that Honeyville promotes.  I have been attending cooking and preparedness classes at Honeyville for over a year and a half now out by the airport.  Some people have commented to me that it is too far to go for a class, so NOW you have NO excuses!!  The new Honeyville Retail store will be open on Monday, September 24th!!  I had the privilege of attending the grand opening ribbon cutting ceremony and I couldn't wait to let you all see the brand new store!!  Lets take a tour....
 
The ribbon was cut and excitement was felt all through the crowd.  I wish you could have seen the smiles on all the faces there, we were all so happy to be a part of this day!

 Honeyville is located very conveniently between Home Depot and Costco in Salt Lake City (right between Zurchers and The Dollar Store in the strip mall).  If you visit Costco frequently then you will have no reason not to stock up on your food storage, Honeyville is right next door!  The address is 389 West 1830 South.  You can take the 21st south exit off of I-15 if you are coming from the south, OR take the 13th S exit if you are coming from the north off of I-15.  

 The new store is beautiful and has all of your food storage, bulk grains (go in just to look at all the different grains), and emergency preparedness items that you may need.  They even carry gluten free items as well.  The new store is light, bright, and so well stocked!

 And you MUST sign up to attend one of Honeyville's classes!!  They are free and you learn soooo much from each and every class.  The new teaching kitchen is gorgeous and will make teaching and learning much more efficient. Isn't it pretty!! There will be a large mirror so everyone will be able to see what is being cooked.  Click HERE to see what classes are coming up.

Picture yourself here, learning everything you ever needed to know about food storage!!

 The next few photos showcase all the amazing products that Honeyville carries in their store.  You will find everything you need to cook with, bake with, and complete your food storage. And they also have fun kitchen gadgets that we all just need to make us smile :)


If I haven't sold you on this store yet, come by next week and meet Doug Wright and the Food Nanny (Liz Edmunds).  Doug will be airing live from Honeyville on the 28th and there will be giveaways and prizes all week long.  

Lisa chats with Liz Edmunds the Food Nanny!!
 What time you may ask????  Monday, September 24th at 9:00AM-6:00PM  and Saturday 9-5.  The whole week will be filled with fun, food, prizes, and amazing people!!  Don't miss out! 


Honeyville Farms
Salt Lake City Store

389 West 1830 South
Salt Lake City, UT 84115


Phone:(801) 839-7576
FAX:
(801) 972-8412


Hours of Operation

Monday - Friday: 9:00AM - 6:00PM
Saturday: 9:00AM - 5:00PM


Honeyville on Facebook

And you would think that I work for them, but I don't.  I was not compensated for this post, I truly love this company and the people that do work there!!

Saturday, April 21, 2012

Sprouting

Print Friendly and PDFPrint Friendly
"Sprouts provide up to 600 percent more vitamins than the full grown plant."  Researchers at the University of Ulster, UK have found. 

Let's say you have been living solely on your food storage for 3 months now and your supplies are dwindling.  If summer has come and gone there isn't time to plant a garden, and your family is going to need vegetables.  I know pirates are quite popular but many of them died of scurvy and I personally don't want to have that in common with them.  With limited options in a survival scenario, your solution is SPROUTING.  When a tiny little seed/grain, with all of its necessary vitamins and nutrients for growing packed inside, is sprouted it becomes a powerful super food!!  


"Sprouts are cheap, easily accessible and an unpolluted source of vitamin C, some protein, traces elements, and B Group vitamins. They are also a true organic food, if they are grown on your very own windowsill, without chemicals."


Sprouting could literally be a life saver.  I grow sprouts because they are so nutritious and also because my children eat them and don't know they are eating veggies.  


I buy sprouting seeds from Honeyville Grain, but the container above I bought at the Self Reliance Expo last year.  


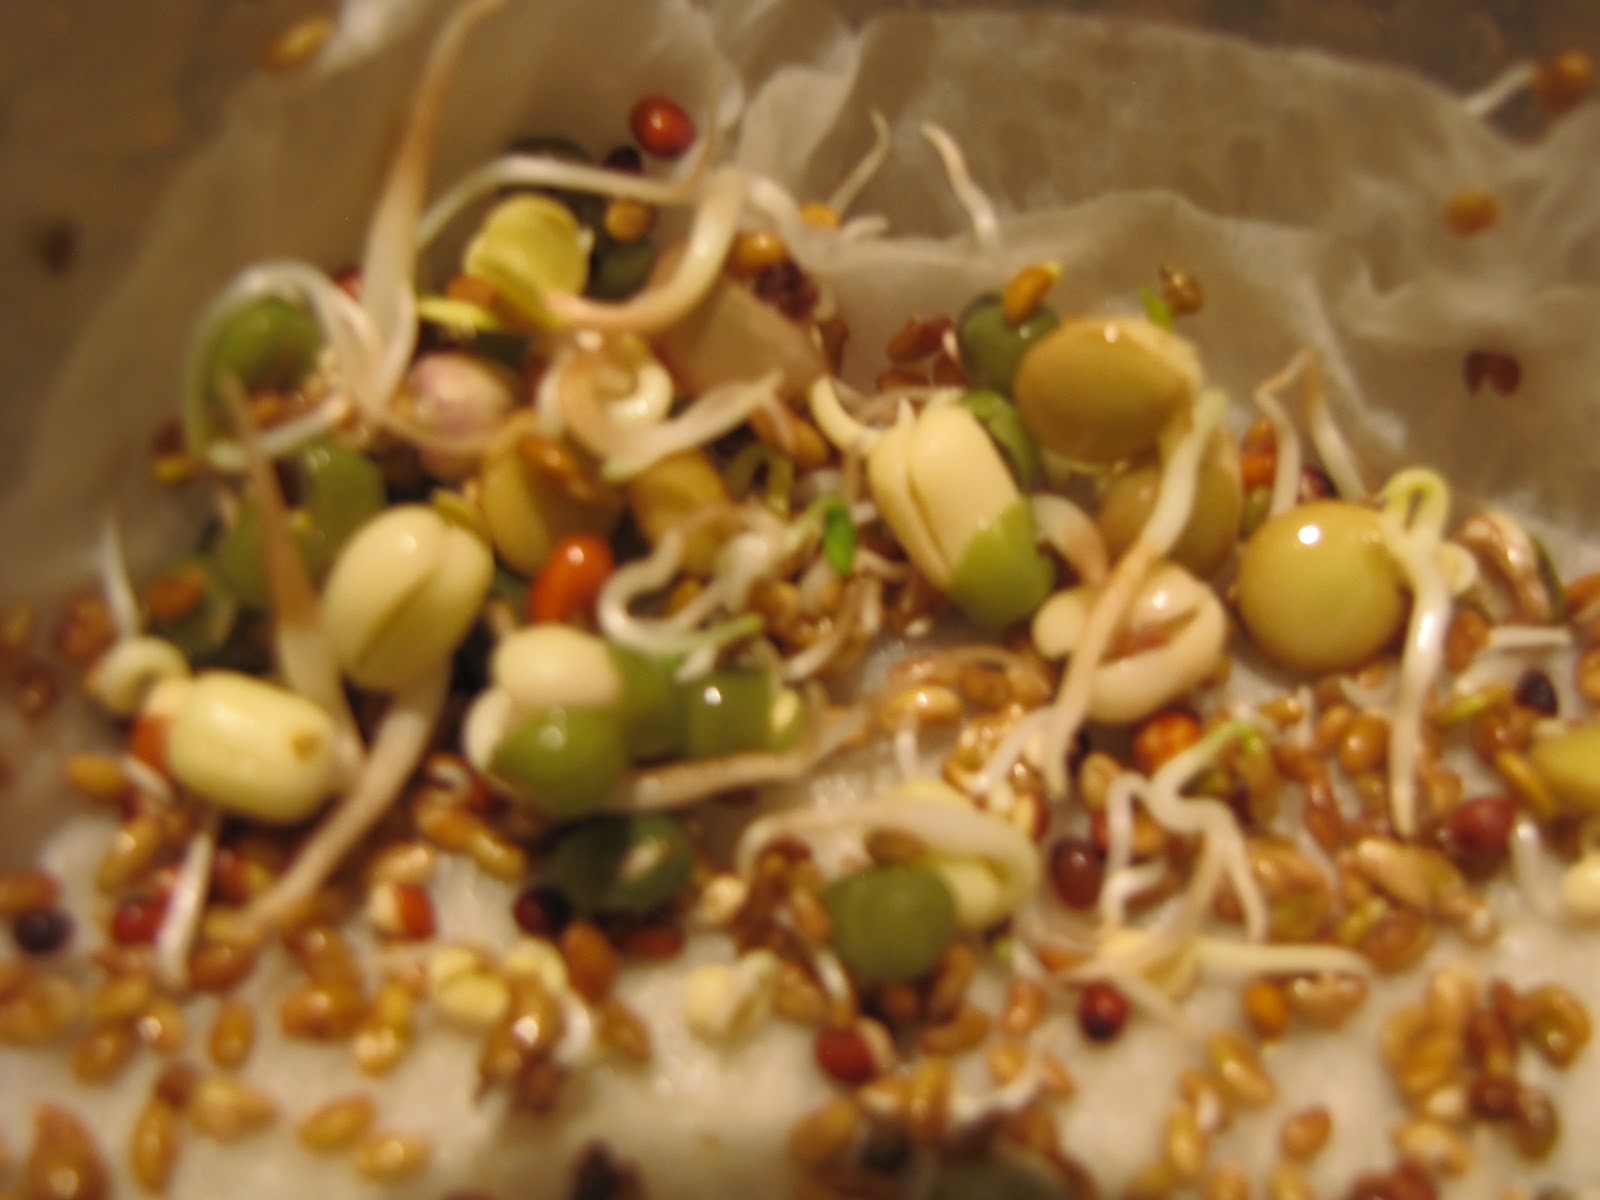
They also come in smaller bags.  You don't need to buy a special bag of sprouting seeds.  There are many seeds and grains that can be sprouted.  Wheat, garbanzo, alfalfa, mung beans, barley, lentils, whole peas, and many more are all able to be sprouted.  Experiment with different seeds and grains and find which ones you prefer.  I really like the salad mix (above) because it tastes like those yummy garden fresh peas.  They just taste fresh and healthy. 


These are the two contraptions that I use to sprout.  The mason jar on the left is quite easy to use and the least expensive (under $5 for the lid).  Put in a tablespoon of sprouts, soak over night (the seeds are soaking in the picture), and just rinse twice a day until sprouts form, about 3-5 days. It can also be done without the plastic straining lid.  I started sprouting with a canning jar, cheese cloth and the canning lid ring.  The other option is a sprouter.  I really love the Victorio Seed Sprouter, on the right, because it pretty much does all the work for you.  You pour the sprouts on each layer (about 1/2-1 T), add 2 C of water twice a day, and it soaks, drains, and grows the sprouts.  There is no need for soaking and rinsing and draining.  With 3 different levels you can stagger your growing or grow different kinds of seed in each one. Remember that sprouts don't like the sunlight.  You can put them in the sun once sprouted to turn them green but they need a warm dark spot to grow.  It really is just that simple!!


We eat our sprouts fresh out of the sprouters, but they need to go in the fridge once they are big enough to eat. (when the sprout is the length of the seed you can eat it).  They should stay good for about 1 week in the fridge.  Mine never last that long because they get eaten.  Sprouts are great for salads, sandwiches, soups, muffins, breads, dinner casseroles, etc, etc.  They can be added to anything.  


If you and your family needed quick nutrition in an emergency, having sprouting seeds is the answer.  Gardening has its place but it can take months.  Sprouting takes only days and allows you to grow your own food storage.  Storing sprouting seeds takes up little space and they last for many years, in the right conditions (dark, cool environment), and are relatively inexpensive.  I don't think I will ever have enough storage space to store the recommended amount of wheat for 7 people, but I can store a years worth of sprouting seeds.  Think of how many sprouts you'll get out of 1lb of wheat, a lot!!  One tablespoon of wheat will create one full layer sprouts in the Victorio Sprouter.  That's quite the bang for your buck!!  This is one area of preparedness that everyone can do and should do today.  The health benefits alone are why everyone should be sprouting.

Tuesday, April 17, 2012

Homemade Crackers

Print Friendly and PDFPrint Friendly
When I come across a recipe that works and allows me to make a homemade version of a processed food, I get really excited!!   I have been trying to make snack food for my children to save money and for health reasons, but when it came to crackers I could never quite get it right.  BUT I have a recipe that works and I believe it is because of my pasta roller!!  I could never get the dough thin enough to make a cracker, it always seemed to come out like a pita bread kind of consistency.   The pasta roller allows the dough to get really thin without the work of rolling it out with a rolling pin.  


I credit myfoodstoragecookbook.com again for her great post on making crackers.  I will link you to her post because I would just be reiterating the same thing if I did a post too.  Follow her recipe exactly for great results. I added cheese powder to one batch and made plain crackers with the other half.  You can add anything you would like to make your crackers your own.  My kids loved the cheese flavored crackers the best because they tasted just like Cheese-its!! 

 {If you don't have a pasta roller you can still try a rolling pin, but you will have to roll the dough pretty thin, 1/8" or less.  I recommend rolling your dough out onto your cookie sheet so you can just cut the dough and cook it.  That way you won't have to transfer the super-thin dough from a counter to the cookie sheet.}

Click HERE to see how to make your own homemade crackers!!

Saturday, January 15, 2011

Complete Proteins and More!

Print Friendly and PDFPrint Friendly
This month we are storing grains.  As a vegetarian I love grains, but I also need to make sure I get enough protein in my diet.  I am sure that many of you know that if you eat beans and rice together you are eating a complete protein. Longer term storage is kind of tricky when you need to store meats and dairy products.  In the event we don't have meat, fish, poultry, eggs, and fresh milk products you can eat grains along with a complementing protein, and have a protein equivalent to meat!

From peaceofpreparedness.com:

"Planning meals around these complementary food combinations will provide the complete proteins needed by the body.  In many cases it will be better than a meat protein.  Complementing proteins should be eaten withing the same day."
WHEAT + BEANS                         RICE + LEGUMES
WHEAT + MILK                            RICE + MILK
BEANS + MILK               
CEREAL + MILK                         

WATER STORAGE GOALS: 
Have you stored any water this week?


3-MONTH STORAGE GOAL: 
Store  your water in different containers as well as in different locations.  If you keep all your water in your basement and your house collapses, where are you going to get your water from.  Keep water in your car, basement, kitchen, backyard, under the stairs, etc.

I found a great recipe this week for Creamy Chicken Taquitos and it uses mostly items that you would have in your 3-month storage.  Remember that your 3-month storage includes the food in your refrigerator and freezer.  Items like green onions and cilantro would be in my fridge because I use them quite often.  Don't think of your 3-month storage as only items in a can or box!!
Click HERE To see this yummy recipe from Our Best Bites! 

 EMERGENCY PREPAREDNESS GOAL:
How are your car kits coming along?  Have you thought of how you would stay warm?  I made a #10 can heater to keep in my car.  It is VERY easy to put together and requires just some household ingredients.  CLICK HERE to see the instructions from Food Storage Made Easy!! Just a note, they use a hot cocoa can in the picture and that won't work for a heater as the can in not made out of metal.  You need a metal can like a #10 can.  For a more advanced heater check out their post HERE.  


FINANCIAL GOAL:
Did you put away a few extra dollars this week?  Keep your money in your 72-hour kits or another safe place.  Have your money in small bills only.  You don't want to have to pay for something with a $20 because you don't have a smaller bill, assume you won't be able to get change. 


Click HERE to view the complete list of goals for January.  You can get most of them accomplished by shopping at the case lot sales!! Grains, water, and 3-month supply items are all on sale!!!


Enjoy the journey!
Enjoy the blessings!
Feel the peace!

Saturday, August 14, 2010

Rice

Print Friendly and PDFPrint Friendly

Rice, I love rice, my kids love rice, and since it is one food that everyone at my table will eat, we eat it a lot.

Click HERE to view a very good post on rice written by the Pleasant Grove stake.

They define rice and also have some great recipes to go along with it.

Saturday, August 7, 2010

August Goals

Print Friendly and PDFPrint Friendly


Welcome to August! I can't believe how fast this year is going by! I hope you were all able to gather some, if not all, of the July items. This month is back-to-school month and with that are some great sales on school supplies and some of the food associated with school, like cereal and snacks.

August food goals:
Grains: 300lbs per person per year(remember that yearly numbers are bare minimum amounts, store what your family will need)-pasta, rice, cereals, cornmeal,and granola bars. (oats and wheat are part of the grain category, but we collected oats in Feb. and wheat in June. If you didn't get the recommended amounts before, feel free to store those as well. Flour is also a grain and you can store it this month, but we will be gathering it in Dec.) The grocery stores will be having sales on breakfast foods and snack foods for school lunches.

Pasta=40lbs per person per year
Rice=40lbs per person per year

Cereal=10 boxes per person per year
Corn=10lbs per person per year (use to make cornmeal as well as popcorn)
Granola bars*=boxed granola bars will go on sale and purchase as many as your family will use.
*(granola bars and cereals are both things that can be made from oats. We stored oats in February and you will need 20lbs per person per year. That is a bare minimum and I would recommend storing more than that so you can make granola bars, granola cereal, and other snacks)

Click HERE to view previous posts on oats.

OR

Click HERE to view previous post on oats.


RECIPES: Your other assignment this month is to collect recipes that use the
grains listed above. These recipes need to be on paper, not the computer, because in an emergency there won't be a way to retrieve those recipes saved on the computer.

Check out allrecipes.com
They have an option at the top of the page that allows you to type in the ingredients you want and they will search all of their recipes to find those that fit your ingredient list. This is a great website to find new recipes. The recipes are all star rated and I always read through the reviews to see what other cooks have said about the recipe.

August non-food goals:

School supplies-Students are not the only people who need school supplies, everyone needs scissors, glue, paper, crayons, markers, tape, pens, pencils, etc. Watc
h the ads for Staples, Office Max, Office Depot for penny sales on all these items. Walmart also has great price points on these items. In an emergency some of us may be home schooling and having the supplies to be able to teach our children will be necessary.

Enjoy the journey!
Enjoy the blessings!
Feel the peace!
Related Posts Plugin for WordPress, Blogger...