Showing posts with label bread recipe. Show all posts

Sunday, January 13, 2019

Five Things That Changed The Way I Do Food Storage

Print Friendly and PDFPrint Friendly

*This is a repost from 2011
There are so many topics to cover when it comes to Food Storage and Emergency Preparedness.  So when I attended a great class Tuesday at Honeyville Grain called "Five Things That Will Change Your Mind About Food Storage", taught by the store manager Lisa Barker, it got me thinking about how to narrow down the list of all the topics of preparedness to just 5.  Lisa's 5 things are very similar to the 5 things that changed the way I do food storage and also how it has simplified my food storage. (I'll list her ideas at the end of the post) My food storage journey really began on September 11, 2001.  I remember the panicked feeling after watching the Twin Towers fall and then watching the other planes crashing into the Pentagon and in Pennsylvania, and thinking this is it!  The world is ending!  The reason I felt so panicked was I had a 6 month old, 22 month old and a 4 year old and I didn't have more than a week's worth of anything.  My baby was strictly on formula and I only had the one can of formula we were using. I grabbed the kids and went to the grocery store and bought food, paper goods, formula, you name it and I probably bought it.  

As time went by and life looked like it was going to continue I really felt the need to start and continue a food storage program.  I started with basics and had things like flour, but I really didn't know how to store it and rotate it.  I went through several ways of storing my long-term items like a Rubbermaid container, buckets etc.  What I didn't realize was I needed to have a meal plan to create my 3-month supply and at that time I was still cooking whatever sounded good that day for dinner.  I wasted so much food and was really frustrated.  Contemplating what I should do; I know that I was inspired by the Spirit when an idea came to me one Sunday afternoon, and that was to create a menu plan with an ingredient list.  I wrote down every meal that my family ate and then I made an ingredient list of all the items from those meals.  That ingredient list became a built in shopping list. I could buy my ingredients when they went on sale and have a pantry full of food that I used on a daily basis.  This is all kept in a binder with sheet protectors and there’s one for each meal.  This plan has worked for my family for several years now.  What’s great is I can tweak it as I go and add or subtract recipes when we need a change.

My ingredient list that goes with my dinner meal plan.


The ingredient list helps me to see exactly what I need to have in my storage room for a 3-month supply.  I just multiply the item by 3 (which is more than a 3-month supply, but more is better, right?)  and I purchase that quantity.  The CASE LOT sales that are a PERFECT time to purchase items for your pantry!!!  (Because if your food storage plan is to come to my house in an emergency you will probably be disappointed to find that I make you work for free food)  hahaha :)  All kidding aside you really do need a plan for your family!!


Here is my list of the 5 things that changed my mind about food storage:
  1. Making a meal plan, ingredient list and shopping for items when they are on sale!!
  2. Using the Food Saver to preserve my dehydrated food, spices, chocolate chips, candy, etc. 
  3. Gamma Lids!!  These lids have made my life sooooo much easier!  I can open a bucket of wheat just by unscrewing the gamma lid and the resealing it without having to pry open those lids that come with the buckets. 
  4. Canning and dehydrating my own food at home!  I never knew how easy it was to can your own meat!  Click HERE to view a previous post on canning meat.  I have also learned to dehydrate almost anything I can get my hands on and then sealing the food in a mason jar with the food saver.  
  5. Wheat!  I have loved learning about all the things that wheat can do!  You can grind it into flour, cook it into a cereal, sprout it into a vegetable, crack it and cook it, even ice cream. I am continually amazed at what wheat can do! Making my own bread has been such a fun learning experiment.  Click HERE to see the recipe I use. 
There you have it!  The five things that changed my mind about food storage. These are Lisa's 5 things:
  1. Store what you eat...eat what you store!
  2. Canning my own foods.
  3. Freeze Dried Foods
  4. FoodSaver, Meals in a jar
  5. I Dare You To Eat It, and It's In the Bag Plans 
EDUCATION IS POWER!!!!

Tuesday, October 21, 2014

Easy No Knead Artisan Bread

Print Friendly and PDFPrint Friendly
Say you're in a situation where you have no electricity and you want to make bread.  Well, first you'll need to manually grind your wheat, then mix it all up, knead it by hand, (have you kneaded bread for 15 minutes?....not the easiest job) let rise, and then bake the bread over the fire, in a Volcano stove, or in a Sun Oven.  This is quite labor intensive! Kneading alone would have me making flatbread a couple times a week.  Have you ever tried out your manual wheat grinder?  It takes quite a bit of energy for a small amount of wheat flour. The girls over at foodstoragemadeeasy.net shared a really cool bread recipe.  It makes a loaf of artisan style bread with no grinding of flour, no kneading, and needs no electricity to bake.  I wasn't sure I  believed their claims. So I HAD to try it out!!  


Look what the final product was!! I don't know why I was so shocked that it worked, but I was.  I couldn't believe how easy this was to make.  Here's how I did it.....

First of all I followed the recipe from foodstoragemadeeasy.net exactly as they explained it.  Click HERE to see the recipe.  

The first step takes the longest, but doesn't involve any work on your part.  Crazy, right?!  
 The night before you want your bread baked, you need to mix up the ingredients.  It takes 12-18 hours for the dough to rise.  That's the longest part of this recipe, but it just sits on the counter and does it's thing.  Here's what you do:  stir together 3 cups of white flour, 1/2 t yeast, 1 3/4 t salt, and 1 1/2 cups of cool water.  It should be a sticky clump of dough.  Stir it well and then cover with plastic wrap. 

Then let the dough sit for 12-18 hours to rise.  This picture was taken in the morning after sitting for around 12 hours.  


Once the dough has risen for 12-18 hours turn it out onto a floured surface and let rest, covered, for 30 minutes. You may have to scrape the dough out of the bowl to get it into a ball shape.  I folded the dough into itself a few times to get it to stick into a ball shape. 

 Once it's fully rested, place the dough onto a piece of parchment paper and then into a round Sun Oven pan, that was heating up in the Sun Oven.  You can see my bread baking in the Sun Oven out in my yard.  

After about two hours, I took the lid off of the pan and let the bread "brown" for about a half hour.  I did mist it with water to help it brown a little.  Bread cooked in the Sun Oven doesn't get brown like in a conventional oven.  My oven hovered around 300° the whole baking time.  When the half hour was up, I took the bread out and was a little worried.  It almost looked like it wasn't cooked, but it was, and it did have a slightly hardened crust. 


I sliced up the loaf for dinner and was very excited that it worked so well.  It had a definite sourdough taste to it, so be prepared for that.  It isn't a strong sourdough flavor but definitely not a typical white loaf of bread.  It is great to know that even in a stressful, emergency situation that I could make bread for dinner without having to grind flour and then knead it by hand.  Now my next goal is to make this with wheat flour!

Friday, July 18, 2014

Back-To-Basics Frugal Food Storage Part 3: Bread Recipes

Print Friendly and PDFPrint Friendly
One of the ways that I am able to save money is to make my own breads at home.  The ingredients used for making bread are dirt cheap, have you noticed how much they charge you in the grocery store for artisan breads, even french bread.  It's outrageous to pay that much for flour and water. 

Here are a few of my favorite bread recipes.  Don't be scared of yeast, some people think it's tricky, but after using it a few times you'll get the hang of it.


Don't spend money on bagels either....click HERE for a bagel recipe that works for me.

If you try a new recipe give yourself time to learn it.  I remember trying to make bread the first time without a Bosch mixer and hand kneading.  It.took.forever.!!  And the final result was less than appetizing.  It took me almost 2 years, I'm a slow learner, to get my bread to a point of looking and tasting the way we like it.  Don't get frustrated and give up if it doesn't work the first time. Make a goal of trying a new bread recipe this week!

Monday, December 10, 2012

Prepare Today Homemade- Butterscotch Quick Bread

Print Friendly and PDFPrint Friendly
Butterscotch Bread is a slightly sweet quick bread.  I was experimenting with the Mix-A-Meal powdered flavors and I was trying to find a way to use the Butterscotch flavor.  This bread was simple to throw together and made a very cute little loaf of bread.  

 These are some of the powdered flavors made by the Mix-A-Meal company.  They are great to use in bulk mixes but they also work in everyday cooking.  The Honeyville retail locations carry these, and they can also be ordered from Mix-A-Meal HERE.

Butterscotch Quick Bread
1 C white flour
1 C wheat flour
1 t baking powder
1/2 t baking soda
1/2 t salt
2 T powdered eggs + 4 T water (or 2 eggs)
1 1/2 T butterscotch powdered flavor OR 1 C butterscotch chips (or both!)
1 t vanilla flavor (or 1 t vanilla extract)
1 C buttermilk (1 C milk (1 C water + 3 T powdered milk) + 1 T vinegar- let sit 5 minutes)
2 T butter melted (2 T powdered butter + 1 t water) no need to mix before adding to recipe)

Preheat oven to 350°In a bowl mix the flour through the vanilla flavoring.  (If using the butterscotch chips, add after the butter and buttermilk) Add the buttermilk and butter all at once.  Stir just until moistened.  Pour into loaf pan and bake 60 minutes or until a toothpick comes out clean.  Cool and remove from pan.  

This also makes delicious toast! And it bakes up beautifully in a Sun Oven! 

Monday, November 12, 2012

Prepare Today Homemade - Orange Rolls With Orange Glaze

Print Friendly and PDFPrint Friendly
I love when I find a recipe that makes a food I love easier to make!  I have made several recipes with Honeyville's scone mix and they have worked out so well that I wanted to try orange rolls, and the scone mix was perfect for it!  It really was so simple to mix, rest, roll out, and bake. 


 To make the rolls orange I used a powdered orange flavor, made by Mix-A-Meal.


Honeyville Grain also sells the powdered flavors made by the Mix-A-Meal ladies and I have been trying to incorporate them into my recipes. They were originally made to use in the Mix-A-Meal bulk mixes and cookbook, but they have a place in everyday cooking as well.  There are many more flavors than in the picture, but those are the ones I use the most.  What is so great about the powdered flavor is they mix into liquid without separating and the flavor doesn't bake out when the food is cooked or baked.  It has been really fun trying to incorporate these into my recipes and also finding new recipes to use them in.  

Orange Rolls 
To make the orange rolls I made the scone mix just like I did in THIS POST BUT I added 1 t of the orange flavor powder to the dough mix.  And instead of cutting them into a scone shape I rolled out the circle of dough and cut it into triangles and rolled them up into a cresent roll shape.  I let them rise for about 25 minutes on a cookie sheet and then baked them at 350° for around 12 minutes.  

 
My kids had been playing in the snow while I made these and when they came in they devoured them!!!  Literally gone in minutes!!  The orange glaze on top of the orange rolls made these and was so simple to make!


Orange Glaze for Orange Rolls
1 T butter softened
1 1/2 T water
1 t orange powdered flavor (you could do a lemon and orange mix)
1 C sifted powdered sugar 

Mix all ingredients until smooth.  Add more water or powdered sugar to reach desired consistantcy.  Brush on rolls while warm.  

I am not normally one to experiment in the kitchen.  I like to follow a recipe exactly like it is written, so this is so fun for me to add a powdered flavor to a recipe and have it work out.  The Honeyville Scone mix has also given me the freedom to create different rolls, breadsticks, scones, pizza pockets, etc. with great results.   

Monday, October 8, 2012

Prepare Today Homemade- Honeyville Scones

Print Friendly and PDFPrint Friendly
Yesterday was LDS Conference (for all those who aren't Mormon it is a weekend of talks and inspiration from our Prophet and leaders)  and at my house we like to have a really fun breakfast to kick off the Sunday morning session.  My children usually request cinnamon rolls and sausage.  Both are only made once or twice a year so they can't wait to eat them. But this year I had a box of Honevyille's Scone mix, and I think they were more excited for these then when I make cinnamon rolls!  

 I had never made these before, but they were really easy to put together.  

First, I dissolved the yeast into 1 C of warm water.
Once it was bubbly I added it to the scone mix in my Bosch.
I kneaded for a few minutes until the dough was soft and elastic.  Then I let it rest for 20 minutes per the instructions on the box.


Once it was rested I rolled it out to 1/4" thick....


Cut it into squares (you could use cookie cutters or cut different shapes) and fried them in a skillet.


It only took about 20 seconds on each side for the scones to be done.


All browned and ready to eat!!


We added powdered sugar and some of Honeyville's Bumbleberry jelly and they tasted just like a jelly doughnut.  We loved them!!  I am wondering if they could be used in a savory dish as well...hmmm the possibilities!!

Since we woke up to our furnace not turning on and it was 59° in my house, we also had some of Honeyville's Marshmallow Motherlode hot chocolate with our scones.  


My kids were in sugar heaven and they actually sat through conference taking notes and listening.  I don't know if it was the scones and hot chocolate that helped with that, but I will give them some of the credit for my children's good behavior.  

Both of these products are available at the Honeyville Retail locations and they would make neighbor gifts, work friend gifts, friends and family member gifts, and they would also make really great gift baskets too!! 

*Update:  I made hamburger buns out of the scone mix tonight for our sloppy joes.  I made the recipe according to the box and then instead of shaping into scones, I made small round rolls and then let them rise for about 20 minutes and then baked them at 350° for about 18 minutes.  It made about 12 hamburger type buns.

Monday, August 13, 2012

Prepare Today Homemade- Bagels

Print Friendly and PDFPrint Friendly
A big part of food storage and preparedness is making everyday grocery store food at home from scratch.  I love the challenge of making something that I would normally just buy at the store. Most of the time it works but there are the few times my family gives me funny looks. I decided to try bagels because my whole family loves them.  I have tried them several times over that past few years but I hadn't found a recipe that was simple, and also edible, until I found a great preparedness blog.   The recipe for bagels, I found at selfreliancebyjamie.blogspot.com, was simple and tasted so good! I couldn't wait to try them and when they were done and everyone ate them, I knew I found a keeper. 

This is the link to Jamie's bagel recipe.  Click HERE.

I started off by adding water, yeast, sugar, flour and salt into my mixer.  I added the flour until the dough started to pull away from the edge of the bowl.  It then kneaded for 8 minutes.  In the picture above I put the cover on and let it rise in the bowl for 20 minutes.

Next, divide the dough into 16 pieces and form into balls.  Take each ball and form into a bagel shape.  Make a hole in the middle with your thumb.

 Stretch the bagels a little as you make the holes and let them rise on a baking sheet for 20 minutes.

I didn't use a baking sheet, I just left them on the counter to rise. 

Bring a pot of water (big enough to hold a few bagels at a time) with 3 T of sugar.  Boil each bagel for 30 seconds on each side and let them drain on a dish towel.  Place the bagels onto a baking sheet and mix 1 egg white with 1 t water and brush each bagel. Bake the bagels and enjoy!!!

Homemade Bagels
3 C warm water
2 T yeast
1/3 C sugar
3 C flour (I used half wheat/half white)
4 t salt

Mix the water through salt in a mixer and mix one minute.  Add 3-4 cups more flour, until the dough starts to pull away from the side of the bowl.  Knead for 8 minutes.  Cover and let rise 20 minutes.

Divide the dough into 16 balls and using your thumb, poke a hole while slightly stretching the dough.  Place on baking sheet and let rise 20 more minutes.  

Boil a pot of water with 3 T sugar and boil each bagel for 30 second on each side.  Drain on paper towel or dish towel.  (now would be the time to add toppings like poppy seeds or sesame seeds) Place on a baking sheet.  Mix 1 egg white with 1-2 T water and brush bagels.  Bake at 400° for 25-30 minutes.

There are so many different variations that you could do to change these bagels up!  And when you look at the ingredients I can't believe I have wasted so much money at the bagel shop!!

Monday, July 2, 2012

Prepare Today Homemade- Sun Oven Cooking

Print Friendly and PDFPrint Friendly
I don't do heat!  I get grumpy and tired when it is really hot outside. I am even worse when it is hot inside my house.  It has been close to 100° for the last week or so and my air conditioner is on it's last leg.  During the day my house temperature hovers around 75-76° and I do not want to turn on my oven.  I am doing everything I can to keep my interior temperature down and a great way to do that is to cook outside.  I am taking advantage of the hot temps and using my sun oven to cook our food.  Saturday was another hot day and I decided to get a bunch of baking done.  Usually I can control the weather by putting out my sun oven (it will get cloudy or storm, I swear!!) but it stayed sunny all day.

I started baking at about 10:00 in the morning and I made bread first.  The trick to bread in the sun oven is to not let your bread raise too high before placing it in the oven.  The bread will keep rising in the sun oven and then bake when the temperature goes back up.  (the temp drops when you open the door) That rule works best if your sun oven isn't above 300°, but when I put my bread into the oven on Saturday it was 400°!!  So my bread just cooked and didn't raise any higher like it usually does.  The second trick is to lightly mist your bread with water BEFORE you put the bread into the oven. You will get a lovely brown crusted bread this way.

 This is my bread after a half hour in the sun oven.  If I had let my bread stay in a 400° oven inside it would have been burned, but the sun oven keeps it from burning. I also mist my bread with water after it comes out of the oven to keep the top crust soft.  Next time I will let my bread raise a little longer before cooking, but this loaf was still yummy!  I used THIS recipe to make my bread.

Since I had the oven out and heated up I decided to keep baking.  My kids love to eat Monkey Bars and I had several ripe bananas ready to use.  These bars take minutes to put together and only 15 minutes in a regular oven.  The original recipe uses a jelly roll pan but that obviously won't fit into the sun oven.  I used 3 rectangular pans and stacked them.  The sun oven is like a convection oven, it cooks evenly no matter what part of the food is in the sun.  All 3 pans were cooked and done at the same time.  I actually took a shower after putting these in the oven, so I know they were in there for at least a half hour. (my shower wasn't a half hour but using the hair dryer etc. takes 30 minutes :)

The pans fit just like this inside the oven.  I bought the 2 lighter pans at the Dollar Tree store (they are Wilton baking pans) and the darker pan from the Honeyville SLC retail store.  The Dollar store also sells a set of smaller muffin pans (holds 6 muffins) that I stack too.  I used THIS recipe for the Monkey Bars.

Even though I got the Sun Oven to have for emergencies, it really is such a life saver during the hot summers in Utah.  It also saves me money on our electric bill.  I also know how to use my Sun Oven and all the little tricks and tips to making food work out.  Don't count on knowing how to use a sun oven if there is an emergency.  If you own one, pull it out, use it!!! 

Monday, February 27, 2012

Prepare Today Homemade- Black Bean Quinoa Salad

Print Friendly and PDFPrint Friendly
Black beans and Quinoa-a perfect pairing!!
Honeyville Grain has introduced me to a whole new world of grains.  Quinoa has been popular for a little while now, but I have just recently jumped on the quinoa train.  I took a class at Honeyville that introduced me to many new grains that are so incredibly healthy for us.  Quinoa has a really high protein content and is actually a complete protein. (great for vegetarians!!) I was always kind of nervous to tastes quinoa because I thought it was going to be kind of like oatmeal, but I was so wrong.  It is soft and only a little bit chewy, kind of like rice.  It has a mellow flavor and all of my children ate it for dinner.  
 Black Bean Quinoa Salad
1 t oil
1 onion chopped
3 cloves garlic
3/4 C uncooked Quinoa
1 1/2 C broth
1 t cumin
1/4 t cayenne
salt & pepper to taste
1 C corn (canned, fresh, or frozen)
2 cans black beans rinsed and drained (I only used 1 can)
1/2 C cilantro

Heat the oil in a medium saucepan over medium heat. Stir in the onion and garlic, and saute until lightly browned. Mix quinoa into the saucepan and cover with vegetable broth. Season with cumin, cayenne pepper, salt, and pepper. Bring the mixture to a boil. Cover, reduce heat, and simmer 20 minutes. Stir frozen corn into the saucepan, and continue to simmer about 5 minutes until heated through. Mix in the black beans and cilantro. 

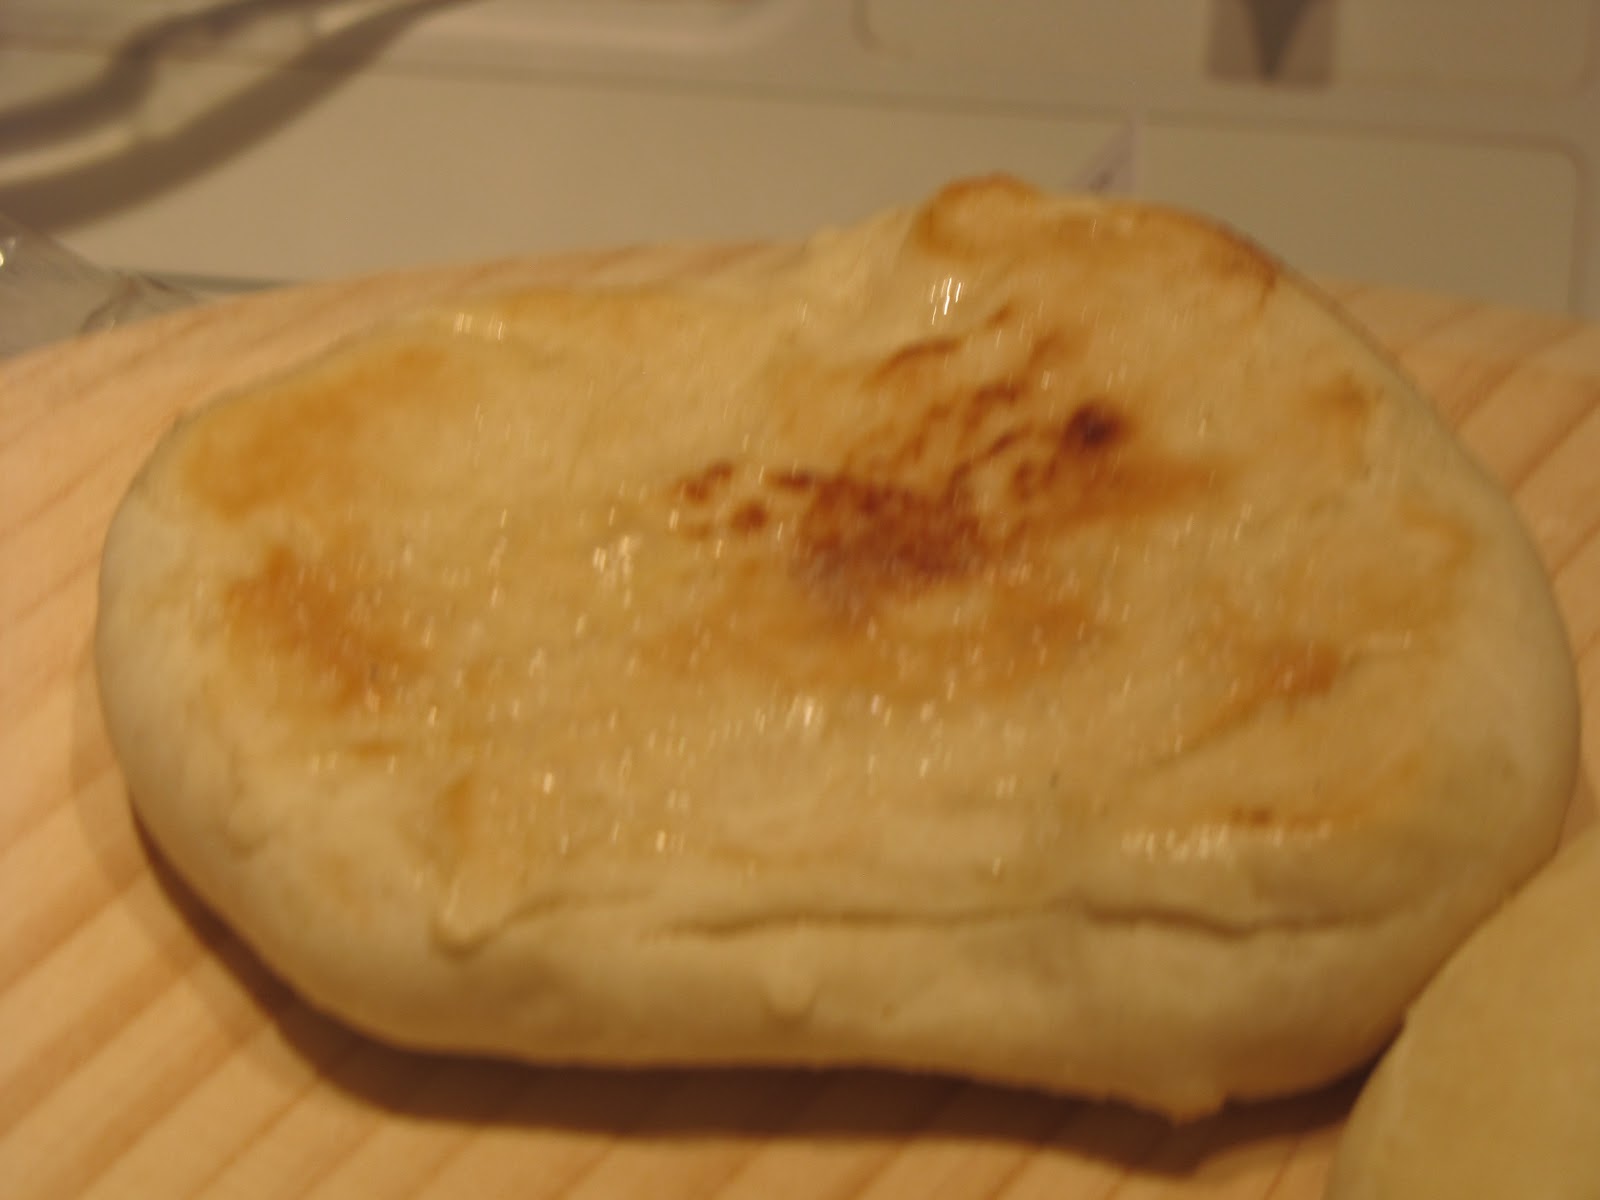
I also made some Naan bread (or Indian fry bread) to go along with the quinoa.  It was chewy, warm, and delicious.

 Naan Bread


1 (.25 ounce) package active dry yeast (2 1/2 t instant yeast)
1 cup warm water
1/4 cup white sugar
3 tablespoons milk
1 egg, beaten
2 teaspoons salt
4 1/2 cups bread flour
2 teaspoons minced garlic (optional)
1/4 cup butter, melted


In a large bowl, dissolve yeast in warm water. Let stand about 10 minutes, until frothy. Stir in sugar, milk, egg, salt, and enough flour to make a soft dough. Knead for 6 to 8 minutes on a lightly floured surface, or until smooth. (I used my bosch to do the kneading) Place dough in a well oiled bowl, cover with a damp cloth, and set aside to rise. Let it rise 1 hour, until the dough has doubled in volume.

Punch down dough, and knead in garlic. Pinch off 16 small handfuls of dough about the size of a golf ball. Roll into balls, and place on a tray. Cover with a towel, and allow to rest for a few minutes.  Preheat your oven to 475 degrees with a pizza stone on the bottom rack of the oven.  

Dough ready to be baked in the oven.

Form each ball into a 6" circle using your hands to form the circle.  Place a few circles into the oven on the pizza stone.  Cook for 3-5 minutes or until the dough has a few dark spots, and is slightly puffy.  Remove from the oven and rub with butter. 

My kids loved the bread!!  And I have a new love of Quinoa!!  Plus it was so quick to get dinner on the table.  I will be adding a few more quinoa recipes to my family's meal plan!! 
Follow Me on Pinterest

Monday, January 30, 2012

Prepare Today Homemade- French Bread

Print Friendly and PDFPrint Friendly
I have tried several french bread recipes and never really had them come out right, or they took too long to make.  Then I came across this recipe from one of my Taste Of Home magazines.  It was simple and came out perfectly the first time I made it.  To make really great french bread I really want a french bread pan, but my loaves come out semi-oval shaped just using a baking sheet.


French Bread Pan


French Bread Loaves

2 T active dry yeast
2 C warm water (110-115 degrees)
2 t salt
1 t sugar
4 1/2-5 C bread flour (all-purpose flour will work but bread flour gives a better texture)
1 t cornmeal

In a large bowl, dissolve yeast in warm water for 5-10 minutes.  The yeast will become bubbly.  Add the sugar, 2 C of flour, and salt.  Beat until smooth.  I do this in my Bosch mixer.  Stir in enough of the remaining flour to form a soft dough.  Knead for 6-8 minutes in the Bosch or by hand.  
This is before all the flour was added. The dough should pull away from the sides of the bowl when enough flour is added.
Place the dough in a greased bowl (I just leave it in my Bosch) cover and let rise for about 1 hour.

Punch dough down and turn onto a lightly floured surface.  Divide in half and shape into 2 12-inch loaves.
Here are the loaves about to raise for 30 minutes.

Place seam side down on a greased baking sheet. Cover and let rise until doubled, about 30 minutes.  Sprinkle with cornmeal.  With a sharp knife, make four shallow slashes across the top of each loaf.  Bake at 450 for 15-20 minutes or until golden brown.  


There are only 79 calories per slice (each loaf has 12 slices)and only a trace of fat!!!!  These loaves also make delicious garlic bread.  Just split the loaves lengthwise, spread some butter and sprinkle with garlic powder, parsley, Parmesan cheese, paprika and bake for 10 minutes at 350.  You won't have to buy garlic bread from the grocery store anymore!!!
 
Related Posts Plugin for WordPress, Blogger...