Saturday, May 30, 2015

Self-Relilant Saturday-- "Thou Shalt Not Be Idle"

Print Friendly and PDFPrint Friendly

"The Church cannot be expected to provide for every one of its millions of members in case of public or personal disaster.  It is therefore necessary that each home and family do what they can to assume the responsibility for their own hour of need.  If we do not have the resources to acquire a year's supply, then we can strive to begin with having a one month's supply.  I believe if we are provident and wise in the management of our personal and family affairs and are faithful, God will sustain us through our trials.  "For the earth is full, and there is enough and to spare; yea, I prepared all things, and have given unto the children of men to be agents unto themselves."  -James E. Faust General Conference 4/1986 (bold and underline added)

Tuesday, May 26, 2015

How To Make Ice Cream Out Of Wheat

Print Friendly and PDFPrint Friendly
Yes, the title is correct!  I made ice cream out of wheat.  It may seem impossible and maybe even a little gross (according to two of my kids it was), but it was a very interesting process.  

I came across this recipe in the "Passport To Survival" book that I found at a local thrift store. Click here to see my review of the book.

There are only four survival foods used in the recipes in this book, wheat, powdered milk, honey, and salt.  It is truly amazing what can be made out of them!  

There are a few steps to actually get ice cream out of wheat, but they are simple.  Start off by steaming your wheat.  This can be done in a crock pot, thermal cooker, wonder box, or in a double boiler.  I would've made this in my Saratoga Jacks thermal cooker, but I wanted to try this exactly as Esther Dickey's recipe said to do it.  

You will need two pots, one that fits inside the other.  You will also need some sort of metal ring, or small can, to elevate the inside pot off the bottom of the bigger pan.


I used my trivet from my Saratoga Jacks thermal cooker to raise up the blue pot.  
 Pour in enough water to come to 1" below the blue pot. 

Add 5 C of wheat kernels, 7 C of water, and 1 T salt to the inner pot.  Cover, bring to a boil, then lower heat to a simmer, and steam the wheat for 4 hours.


You will end up with 12 cups of cooked wheat berries. For a smaller recipe use 2 C of wheat, 1 3/4 C water, and 1 t salt.  That will produce about 5 C of cooked wheat berries.  

Once you have cooked wheat berries, the fun begins.  In a blender add 3 C steamed wheat berries, 3 C water, 3/4 C powdered milk, and 1/3 C honey.  Blend until mixed.  There will be bits of bran that won't blend up, but they get strained out in the next step. 

Once the mixture is blended well it needs to be strained.  The bran will be left in the strainer and the whey mixture will be used for the ice cream.  Save the bran for a recipe later.  

This is the bran left over after all the liquid has been drained off. 

Pour the liquid onto a large rimmed cookie sheet and freeze until solid. 

When you are ready to make ice cream, pull out the cookie sheet from the freezer and let it warm up for a minute or two.  I used a spatula to scrape up pieces and then used my Bosch with the cookie paddles to mix it into ice cream.  It will seem like it won't work but once the mixture softens enough it will mix into an ice cream looking substance. 

Here is my honest review.  It was pretty good.  It really tasted like a frozen yogurt.  My first two kids that tried it thought it was really ice cream and shoved a big mouthful of it in their mouths. They weren't expecting the flavor that it was and spit it out just as fast. It has a wheatie, honey flavor to it, but it was cold and creamy.  My husband and 3 other children ate it and liked it.  I have to say, that in an emergency, without all the modern foods from the grocery store, this would be a treat!  What made it even better was stirring in a bit of cocoa powder to make it chocolate ice cream.  That flavor disappeared!  Chocolate makes everything better :)

Wheat Ice Cream
3 C steamed wheat
3 C water
3/4 C powdered milk
1/3 C honey
Mix in blender until smooth.  Strain out the bran and save in a separate bowl.  Pour the liquid onto a rimmed cookie sheet and freeze until solid.  Let thaw a few minutes before mixing with cookie paddles or beaters to make it creamy and smooth. Makes about 1 1/2 C ice cream.  Optional:  Add cocoa powder for a chocolate flavor!

Wheat is amazing!  Here's what I made out of the original 12 cups of steamed wheat.....
  1. I used 6 cups of wheat berries in a double recipe of the ice cream.
  2. The left-over bran was used to make wheat crackers, recipe from the same book. (1 3/4 C bran & about 2 C wheat flour, 1 C water, 1/2 t salt.  Roll out thin, cut, sprinkle with ground up baked wheat kernels and bake at 375 for 15 min.  I just kept adding flour until the bran was able to be rolled out into a dough.) 
  3. I broiled, then slowly baked a few cups of steamed wheat into crunchy snack kernels. I ground up a handful to use as a topping on the wheat crackers, and we snacked on the rest. (Broil cooked wheat berries for 10 min or until they start popping, then bake at 250 for 30 min, or until lightly browned.)
  4. I made 24 bran muffins out of 3 C of the bran leftover from the ice cream.  (I used this recipe:  bran muffins
  5. The last of the wheat berries were made into a salad for dinner that night.  click here for that recipe 


Out of 12 cups of cooked wheat I made a dessert, 2 snacks, breakfast muffins, and a dinner.  The bran is in the green bowl above in the picture.  There was quite a bit left-over after making the ice cream and it went a long way in making A LOT of crackers and 24 bran muffins.  Wheat really is the staff of life!!  The whole book "Passport to Survival" is filled with recipes that start off as one recipe and then lead into several other ways to prepare it. Wheat is so versatile and truly is a survival food!!

Saturday, May 23, 2015

Self-Reliant Saturday-- Earthquake in Vegas

Print Friendly and PDFPrint Friendly
A 4.5 magnitude earthquake was felt in Las Vegas Friday Morning (5/22/15).  One has to wonder how many warnings we will get before it happens closer to home.  Please take the time to have a family emergency plan, 72-hour kits ready to go, and your food storage up-to-date.  


Click HERE to view a post on emergency evacuations and a link to print out a family emergency plan.  

And check out the left side-bar of this blog to see a list of items that may work for your 72-hour kits. 


For food storage and water basics CLICK HERE.

It's never to late to start a food storage program for your family!  If you go out right now and buy a case of water...you are on your way!!!

"Are we prepared for the emergencies of our lives?  Are our skills perfected?  Do we live providently?  Do we have on hand our reserve supply?  Are we obedient to the commandments of God?  Are we responsive to the teachings of the prophets?  Are we prepared to give of our substance to the poor, needy?"
               -Thomas S. Monson April 1986 General Conference

Tuesday, May 19, 2015

"Passport To Survival"

Print Friendly and PDFPrint Friendly
Let's say that you have followed only part of the advice from our Church leaders and stored wheat, powdered milk, honey, and salt.  You never felt the urgency to prepare but bought your year supply of wheat and powdered milk from the Church and stuck the #10 cans in your basement, hopefully to never see them again.  From the looks of your storage it doesn't seem like you'll be eating too well in an emergency....unless you buy this book on Amazon;)

"Passport To Survival"

The premise of Esther Dickey's "Passport To Survival" is that we can survive, and not have appetite fatigue, with four survival ingredients stored. "Thus it is these four emergency foods, wheat, powdered milk, honey, and salt- nutritionally sound, readily storable, highly adaptable, and pleasingly palatable- in which I place my trust as the basis of my passport to survival" -Esther Dickey p. 14. She does go on to list 40 other foods that she stores for her family but the book uses only those 4 survival ingredients in the recipes.


I only purchased this book because I thought it would be fun to read about how preparedness was done in 1969.  Little did I know what a wealth of information Esther has in this book!  I found myself marking passages and turning down pages to mark things I wanted to try.  What this woman does with wheat is amazing!!!

Esther calls wheat, powdered milk, honey, and salt the Survival Four.  There are over 100 recipes using just those four ingredients. 

 Here are a few examples: 
  • gluten (in all sorts of shapes and sizes)
  • steamed wheat
  • sprouted wheat
  • making yeast
  • batters and doughs
  • soups and gravies
  • cookies, crackers, candies
  • ice cream and wheat pudding?!
  • waffles, cereals
  • caramel syrup, honey frosting
  • cottage cheese and yogurt

Dessert anyone? Do you see the spoon shaped crackers?  Esther took a thin batter and using a squirt bottle made those spoon shapes on a cookie sheet.  After baking she uses them for dessert with a sweet topping on them.  She is so creative!!


There are many recipes that use the basics and are then turned into a meal. 

Included in the book after all the recipes are given, is a 7 day menu.  There is also a section on advanced preparation that helps plan out the cooking so meals will come together quickly.  Whether in an emergency situation or not, this is very useful time management information. 


Steamed wheat is turned into ice cream?!  I think this is the the reason I need this book...haha. But I really can't wait to try it out!

This book is FULL of tips, preparedness techniques, water and food storage ideas, and positive thinking for the future.  If there will ever be a time where food is scarce but we have prepared properly with survival foods....we will be able to keep our families alive. Esther cooked these meals for 10 days for her family of 7 and they were filling and nutritious. While reading this book I kept telling my husband how inspired this woman was!  To be able to take those four ingredients and come up with the recipes that she did, she had to have help from above.  This is one book that I will always have in my food storage library.  

Here is a link to buy this book on Amazon
I do not make money on this link.  It is purely for you to find it easier on Amazon.

Saturday, May 16, 2015

Self-Reliant Saturday-- Food Storage Basics

Print Friendly and PDFPrint Friendly
Basic Storage is the foundation of any good food storage program. It is composed of life-sustaining foods that store well for long periods of time. 


While shopping at a local thrift store I found a really cool preparedness book. 

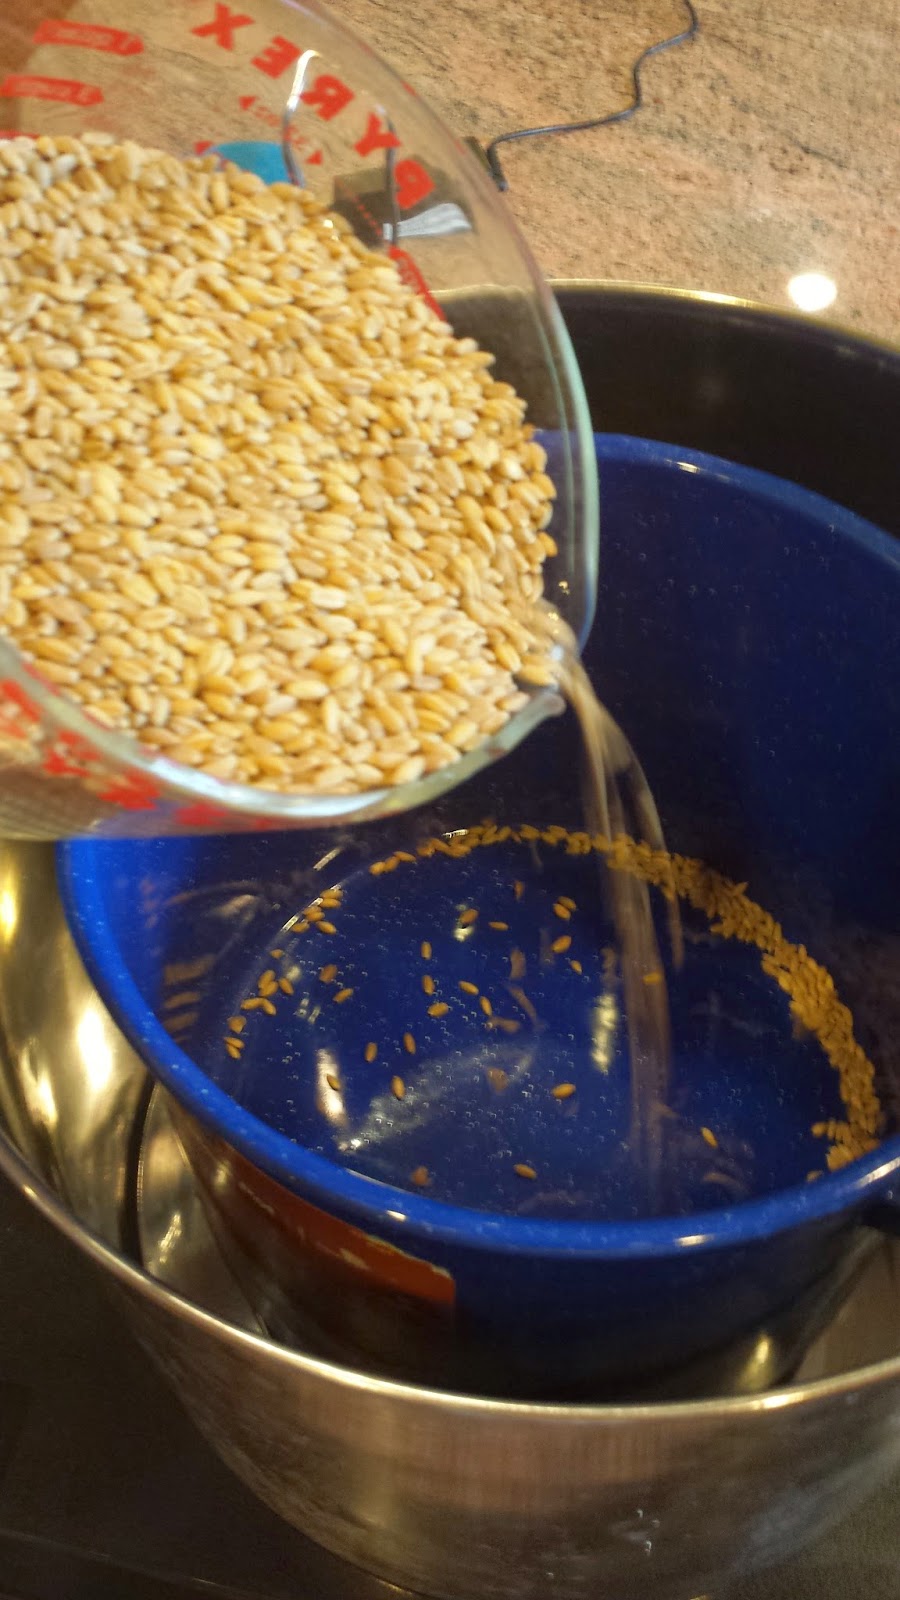
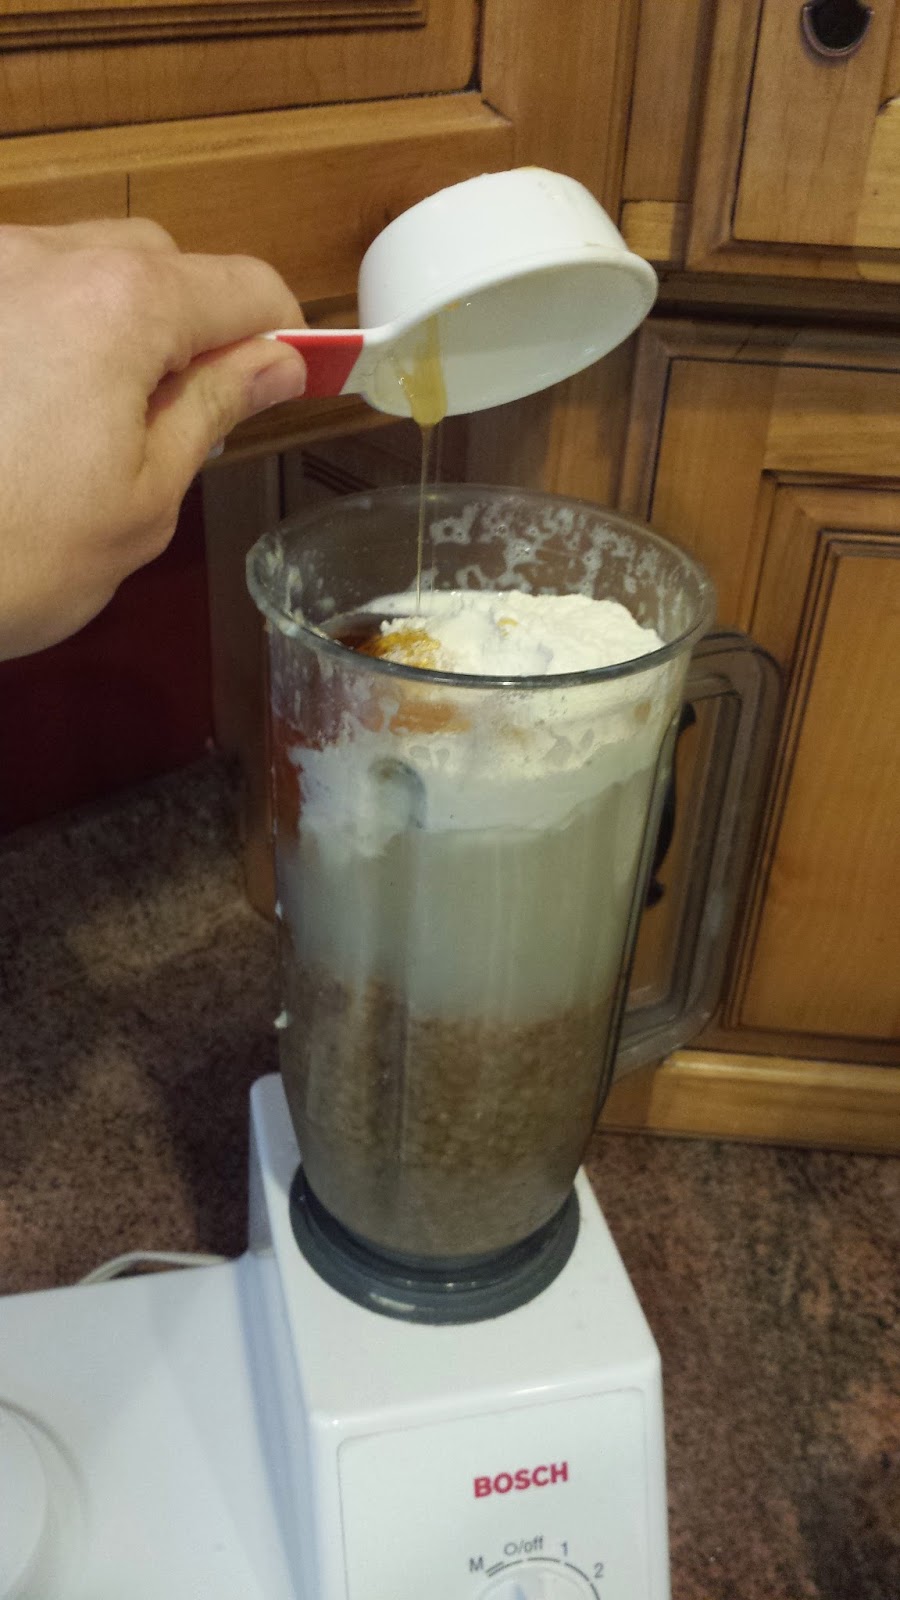
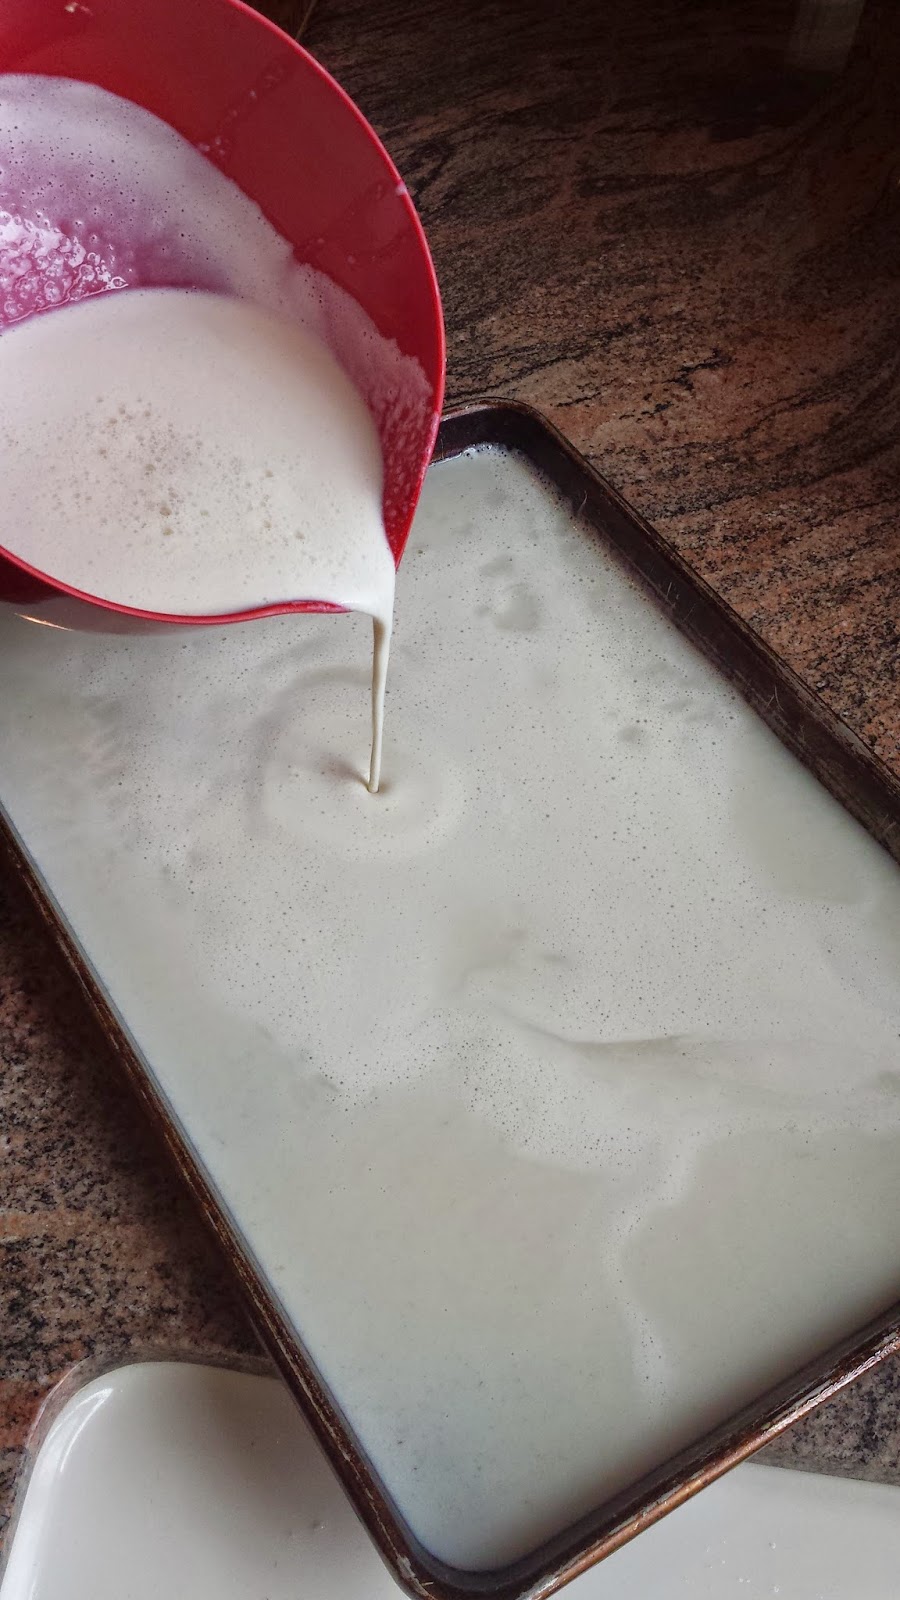
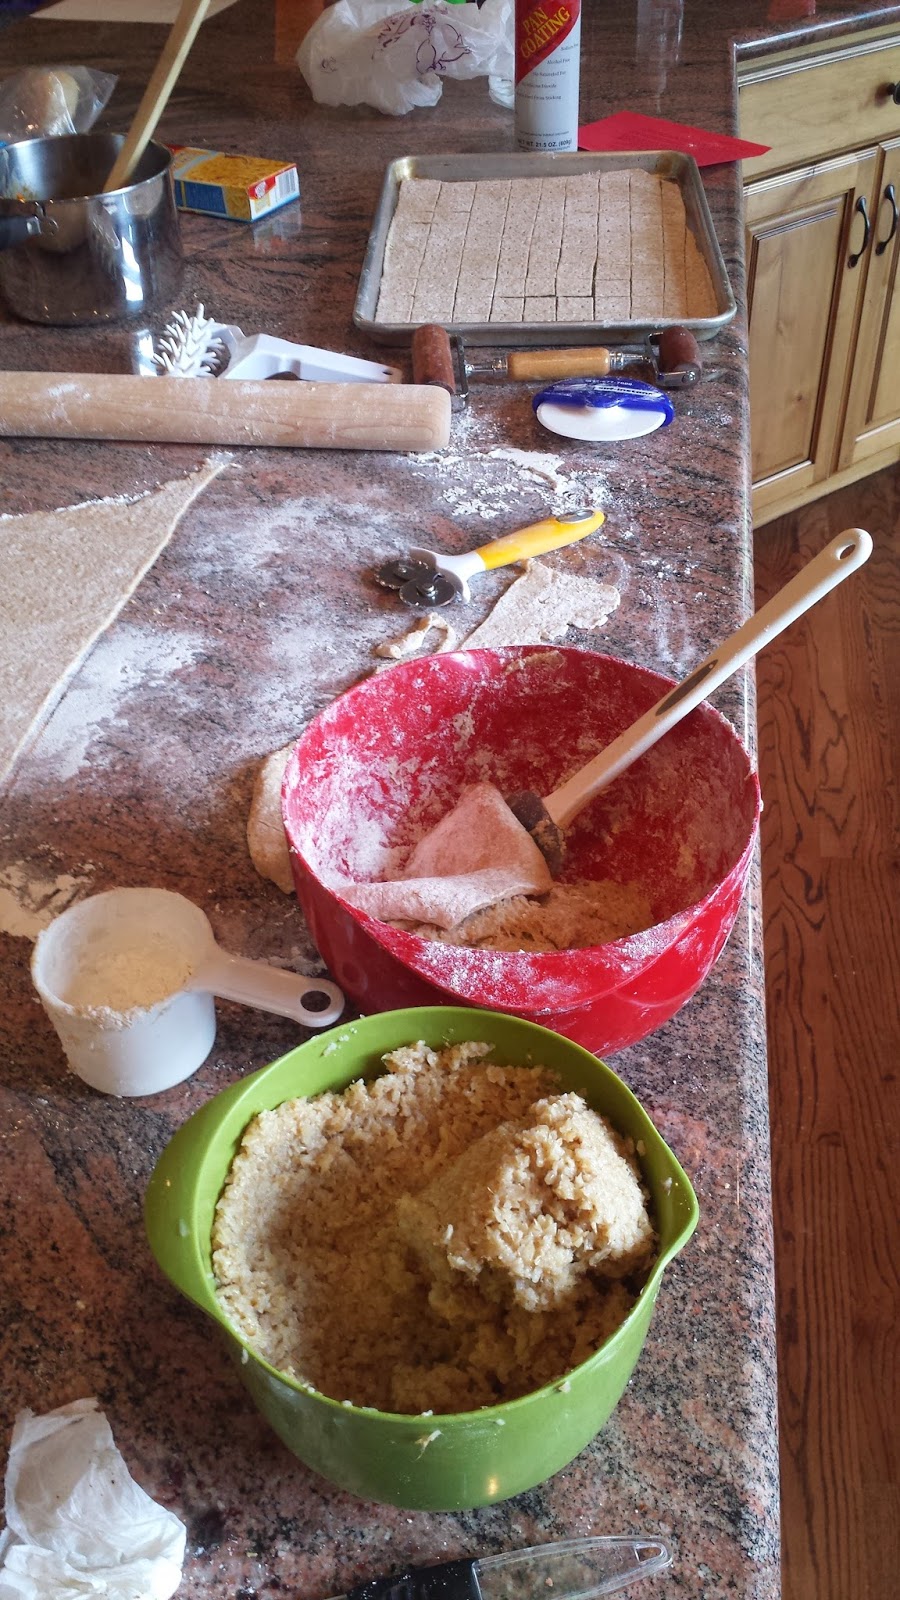
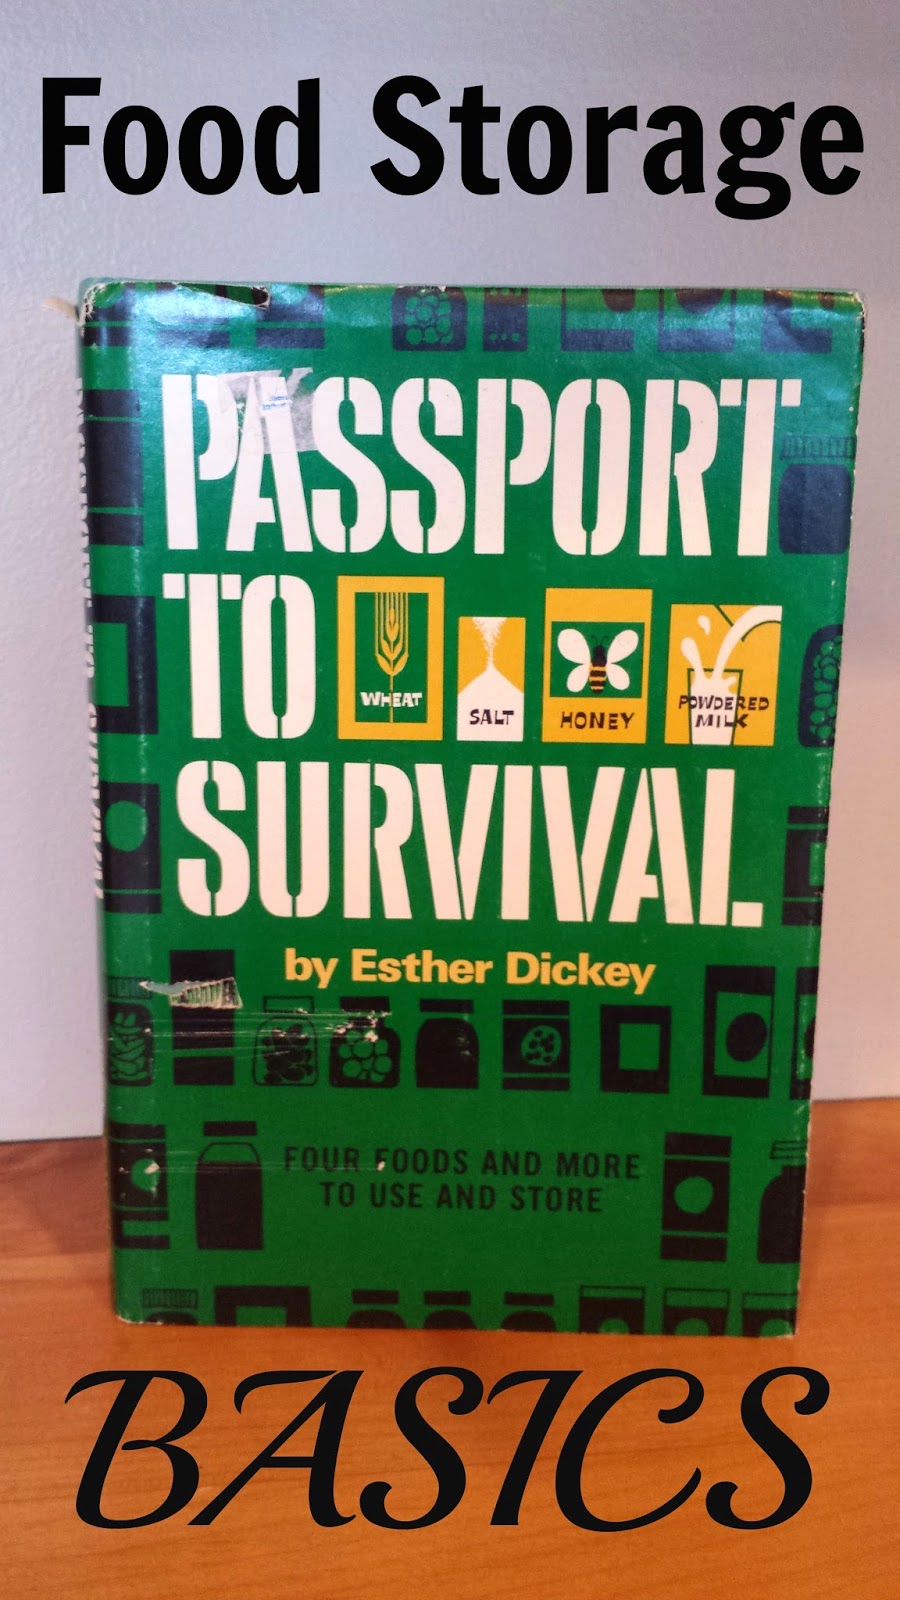
Written in 1969 it was a jewel of a find. While it doesn't have all the latest information on food storage it did have over 100 recipes that ONLY used 4 basic foods; wheat, powdered milk, honey and salt.  The whole concept of this book is that by storing only the basics you would be able to stay alive and survive in an emergency.  The author made meat wheat and all forms of gluten, sprouted wheat, candy, cookies, crackers, cereal, cottage cheese, yogurt, etc, and even had a seven day meal plan.  I'll have to read the whole book and do a proper review of it later, but it got me thinking of the basics in any food storage plan.  

The LDS Church does recommend that we store the basics found in the book above and now I know why.  There is so much that can be done with those four foods. I found a chart in my files, and I do not know where I got it from, of the amounts needed for food storage basic supplies.  This includes a more well-rounded meal plan than just wheat, powdered milk, honey, and salt.  Take a look and see where you could maybe fill in the gaps in your storage.  If you bought the amounts listed below once a month, for 12 months, you would have a year supply for one person.  Multiply the amounts by the number of people in your family to have food storage for every member of your family. 

One Month Supply
Based on a suggested amount, a month's supply for one person would consist of the following:
(the amounts are based on a 2300 calorie diet)

Grains (wheat, rice, oats, pasta etc)   25 lbs.
Powdered Milk   6.25 lbs.
Sugar or honey  5 lbs.
Salt  1/4 box
Fats & Oils  1 2/3rd lbs.
Legumes  5 lbs.   

Estimate 1 gallon of water minimum per day/per person

Purchasing in cans would be:
(1 Case of 6 #10 cans)
1 can wheat
1 can rice
1 can rolled oats or macaroni
1 can popcorn 
1 can non-instant dry milk
1 can dry beans 

PLUS:
5lb bag flour
4-5 lb bag sugar
26oz box salt
32oz bottle oil

One Month Supply of Shelf Stable Foods
Based on the MINIMUM of 1600 calories for one adult
18 oz. box oatmeal
1 lb rice
20 oz pasta 
5 lb flour
1 lb popcorn

34 cans vegetables (or freeze-dried equivalent)
26 cans fruit (or freeze-dried equivalent)

2 lb Velveeta (or freeze-dried cheese equivalent)
4 cans evaporated milk (12oz)
3.2 lbs powdered milk 

1 jar peanut butter (18oz)
4 cans tuna
4 cans chicken
4 cans ham 
8 cans cooked beans

PLUS:  oil-shortening-nuts-sugar-syrup-jam-molasses-salt

NOTE:  For a 2400 calorie diet add 1 more box of oatmeal, 1 lbs of rice, 40 oz pasta, 1 lb popcorn, 17 cans of veggies, 8 cans fruit, 1 can chicken, 1 can ham, and 5 cans beans

When the numbers get broken down into monthly amounts it seems a little easier to buy food for a food storage plan.  Don't get frustrated...please just start small and take it a step at a time.  
(watch for a book review this week of  "Passport To Survival" that I found at the thrift store)  

Saturday, May 9, 2015

Self-Reliant Saturday-- Gardening

Print Friendly and PDFPrint Friendly
"Let every man who has a garden spot, garden it;  every man who owns a farm, farm it."  -J. Reuben Clark April Conference 1937


"We encourage you to grow all the food that you feasibly can on your property.  Berry bushes, grapevines, fruit trees- plant them if your climate is right for their growth.  Grow vegetables and eat them from your own yard." - Spencer W. Kimball Ensign May 1976

Gardening is definitely out of my comfort zone and I don't really know what I am doing, but my sweet husband built my boxes for me last weekend.  The dirt is coming this week and we will be ready to plant after the recommended Mother's Day planting date.  I live at almost 6000ft and we have a very short growing season, but the colder plants like spinach and beans love it up here.  Wish me luck!  How are your gardens coming along?  Do you plant in garden boxes or containers?  I would love to hear what you all plant.

Saturday, May 2, 2015

Self-Reliant Saturday-- Car Kits

Print Friendly and PDFPrint Friendly

Inventory and organizing have been my thing lately.  Once I get on a roll I tend to organize everything in sight.  I finished with the storage room and decided to pull out our car kit to update it as well. 

I should be embarrassed to tell you that I hadn't updated the car kit since we moved two years ago.  It was kind of scary.

I pulled everything out of the dirty bag and then checked the dates on the granola bars and fruit snacks.  They were years beyond their expiration dates.  And with them stored in a heated/cooled car all the time, I decided it was best to dispose of them.  
Reason #1 to go through your car kits every six months:  food does expire.  It seems that the kids also eat the food in the car kits.  I have 7 people in my family and only 1 fruit snack and 5 granola bars remained in my car kit.  In an emergency I would have to pick my favorite kid to feed.  (kidding)

Everything got sorted and cleaned and I decided to put "like" things in resealable bags.  Mittens/gloves in one bag, toilet paper, diapers, sanitizer in another bag, etc. 


Then it all got tucked away into the back of the car again.  I hid the food at the bottom of the bag, now maybe my backseat riders won't be able to reach it so easily. 

Items to have in a Car Kit 
  • Water
  • Food (granola bars, emergency bars, no chocolate-it melts)
  • Cold weather gear (hats, mittens, blankets, tarp)
  • Small shovel
  • Took kit
  • Flashlights
  • Baby supplies
  • Wipes, sanitizer, toilet paper
  • Paper and pens
  • Map of your area with multiple ways out of where you live
  • Hand heaters
  • Can heater (click HERE for instructions on how to make one)
  • First aid kit (we always have ibuprofen in ours!)
  • Poncho
  • Emergency blankets (the shiny mylar ones)
  • Emergency radio
Any other personal items that you may need or want can go in your kit.  Personalize it to fit your family's needs.  Take a few minutes and update your car kit, or put together a car kit for the cars in your household.  My husband drives down a canyon to get to work everyday.  I don't want him stranded and not have a way to survive.  I usually have 4-5 kids with me when I am driving around and we inevitably need water or snacks or baby wipes.  Emergencies big and small can be remedied by having a well stocked car kit.  

(click HERE to view a previous post on using your car as a shelter)
Related Posts Plugin for WordPress, Blogger...