With 5 kids, birthdays seem to happen quite a bit at our house. My son's birthday was this past weekend and besides his cake, he needed cupcakes to share with his class. I thought this would be a perfect time to use food storage. (they will never know, hehe) I substituted white beans for the oil called for in the boxed cake mix that I used. (white beans for yellow cake, black beans for chocolate cake)
I followed the cake mix exactly like it says on the cake mix box except for the oil. My cake mix called for 1/3 C oil and I simply added 1/3 C pureed white beans instead. They bake up just as moist and fluffy as oil baked cupcakes.
My son wanted a Lego birthday and I found a Lego chocolate mold so we made Lego pieces to sit on top of the cupcakes. After melting the chocolate I thought if I hadn't used the microwave to melt the chocolate I could have used my Saratoga Jacks thermal cooker as a double boiler and melted the chocolate that way. Why do I always think of these things after??
Showing posts with label beans. Show all posts
Monday, June 4, 2012
Monday, April 30, 2012
Prepare Today Homemade- Lemon Sugar Cookies (with beans)
| I always rinse my canned beans to lessen the digestions problems that beans can cause. |
| I puree my beans and get about 1 C per can. |
| The beans are ready for baking when they are all smashed and smooth. |
| Beat the butter, beans and sugar until creamy. |
| Powdered flavorings add great flavor when you don't have the liquid version. |
Lemon Cookies
2 3/4 C white flour
1 t baking soda
1/2 t baking powder
1/2 t salt
zest of 2 lemons (I used 1 t of the lemon flavor powder)
1 1/2 C granulated sugar
1 C butter at room temp. (replace with beans or applesauce)
1 large egg (1 T egg powder + 2 T water)
1/2 t vanilla (or vanilla powder)
2 T lemon juice (or lemon powder)
1/2 C white sugar for rolling the dough
Preheat the oven to 350 degrees. Combine the dry ingredients and set aside. Beat together the butter (beans) and sugar until creamy. Add the lemon zest, egg, vanilla, and lemon juice. Stir to combine. Add in the dry ingredients and combine. Using 1 tablespoon of dough, roll into a ball and roll in sugar. Place 1 1/2" apart on a cookie sheet. Bake 8-10 minutes or until edges are slightly browned. Let cool for 2 minutes before moving to a cooling rack. Add lemon glaze when cooled.
Lemon Glaze
1 T softened cream cheese
2 T lemon juice
1 1/2 C powdered sugar
Combine all ingredients until smooth. Glaze each cookie.
| A little taste of spring!! |
Saturday, April 21, 2012
Sprouting
"Sprouts provide up to 600 percent more vitamins than the full grown plant." Researchers at the University of Ulster, UK have found.
Let's say you have been living solely on your food storage for 3 months now and your supplies are dwindling. If summer has come and gone there isn't time to plant a garden, and your family is going to need vegetables. I know pirates are quite popular but many of them died of scurvy and I personally don't want to have that in common with them. With limited options in a survival scenario, your solution is SPROUTING. When a tiny little seed/grain, with all of its necessary vitamins and nutrients for growing packed inside, is sprouted it becomes a powerful super food!!
"Sprouts are cheap, easily accessible and an unpolluted source of vitamin C, some protein, traces elements, and B Group vitamins. They are also a true organic food, if they are grown on your very own windowsill, without chemicals."
Sprouting could literally be a life saver. I grow sprouts because they are so nutritious and also because my children eat them and don't know they are eating veggies.
I buy sprouting seeds from Honeyville Grain, but the container above I bought at the Self Reliance Expo last year.
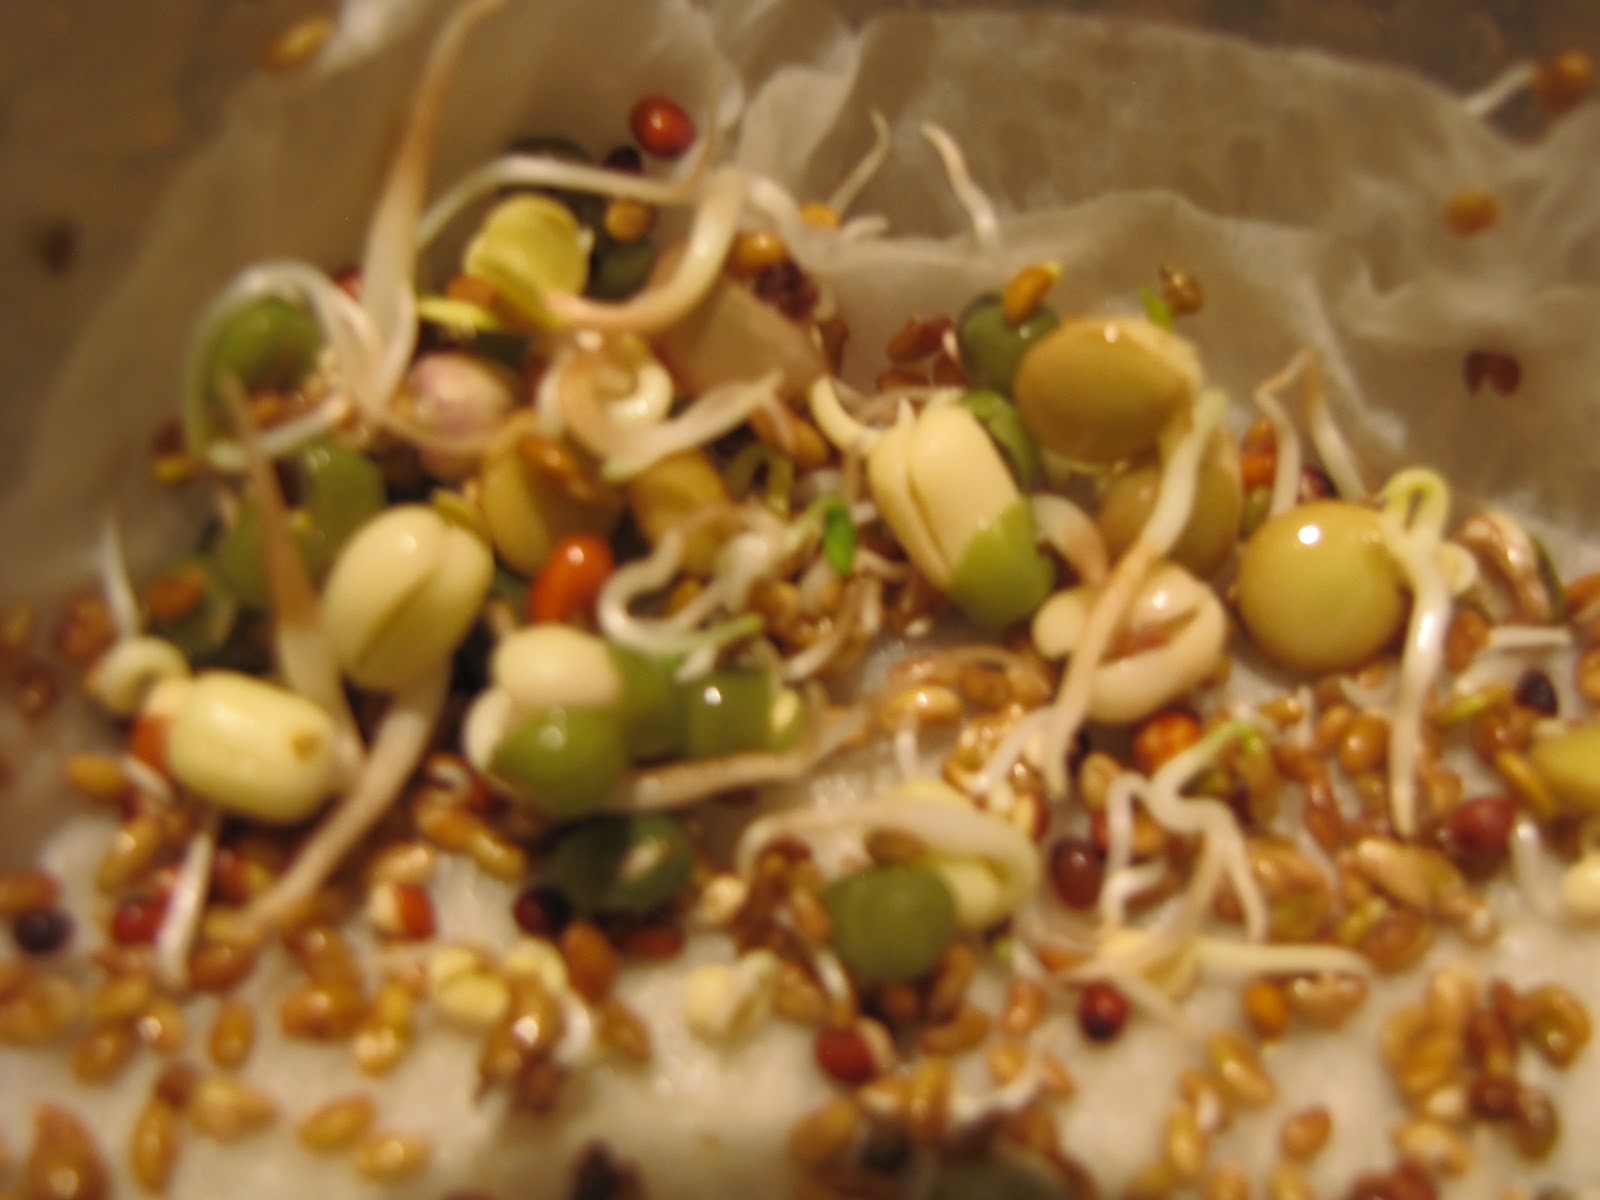
They also come in smaller bags. You don't need to buy a special bag of sprouting seeds. There are many seeds and grains that can be sprouted. Wheat, garbanzo, alfalfa, mung beans, barley, lentils, whole peas, and many more are all able to be sprouted. Experiment with different seeds and grains and find which ones you prefer. I really like the salad mix (above) because it tastes like those yummy garden fresh peas. They just taste fresh and healthy.
These are the two contraptions that I use to sprout. The mason jar on the left is quite easy to use and the least expensive (under $5 for the lid). Put in a tablespoon of sprouts, soak over night (the seeds are soaking in the picture), and just rinse twice a day until sprouts form, about 3-5 days. It can also be done without the plastic straining lid. I started sprouting with a canning jar, cheese cloth and the canning lid ring. The other option is a sprouter. I really love the Victorio Seed Sprouter, on the right, because it pretty much does all the work for you. You pour the sprouts on each layer (about 1/2-1 T), add 2 C of water twice a day, and it soaks, drains, and grows the sprouts. There is no need for soaking and rinsing and draining. With 3 different levels you can stagger your growing or grow different kinds of seed in each one. Remember that sprouts don't like the sunlight. You can put them in the sun once sprouted to turn them green but they need a warm dark spot to grow. It really is just that simple!!
We eat our sprouts fresh out of the sprouters, but they need to go in the fridge once they are big enough to eat. (when the sprout is the length of the seed you can eat it). They should stay good for about 1 week in the fridge. Mine never last that long because they get eaten. Sprouts are great for salads, sandwiches, soups, muffins, breads, dinner casseroles, etc, etc. They can be added to anything.
If you and your family needed quick nutrition in an emergency, having sprouting seeds is the answer. Gardening has its place but it can take months. Sprouting takes only days and allows you to grow your own food storage. Storing sprouting seeds takes up little space and they last for many years, in the right conditions (dark, cool environment), and are relatively inexpensive. I don't think I will ever have enough storage space to store the recommended amount of wheat for 7 people, but I can store a years worth of sprouting seeds. Think of how many sprouts you'll get out of 1lb of wheat, a lot!! One tablespoon of wheat will create one full layer sprouts in the Victorio Sprouter. That's quite the bang for your buck!! This is one area of preparedness that everyone can do and should do today. The health benefits alone are why everyone should be sprouting.
Let's say you have been living solely on your food storage for 3 months now and your supplies are dwindling. If summer has come and gone there isn't time to plant a garden, and your family is going to need vegetables. I know pirates are quite popular but many of them died of scurvy and I personally don't want to have that in common with them. With limited options in a survival scenario, your solution is SPROUTING. When a tiny little seed/grain, with all of its necessary vitamins and nutrients for growing packed inside, is sprouted it becomes a powerful super food!!
"Sprouts are cheap, easily accessible and an unpolluted source of vitamin C, some protein, traces elements, and B Group vitamins. They are also a true organic food, if they are grown on your very own windowsill, without chemicals."
Sprouting could literally be a life saver. I grow sprouts because they are so nutritious and also because my children eat them and don't know they are eating veggies.
I buy sprouting seeds from Honeyville Grain, but the container above I bought at the Self Reliance Expo last year.
They also come in smaller bags. You don't need to buy a special bag of sprouting seeds. There are many seeds and grains that can be sprouted. Wheat, garbanzo, alfalfa, mung beans, barley, lentils, whole peas, and many more are all able to be sprouted. Experiment with different seeds and grains and find which ones you prefer. I really like the salad mix (above) because it tastes like those yummy garden fresh peas. They just taste fresh and healthy.
These are the two contraptions that I use to sprout. The mason jar on the left is quite easy to use and the least expensive (under $5 for the lid). Put in a tablespoon of sprouts, soak over night (the seeds are soaking in the picture), and just rinse twice a day until sprouts form, about 3-5 days. It can also be done without the plastic straining lid. I started sprouting with a canning jar, cheese cloth and the canning lid ring. The other option is a sprouter. I really love the Victorio Seed Sprouter, on the right, because it pretty much does all the work for you. You pour the sprouts on each layer (about 1/2-1 T), add 2 C of water twice a day, and it soaks, drains, and grows the sprouts. There is no need for soaking and rinsing and draining. With 3 different levels you can stagger your growing or grow different kinds of seed in each one. Remember that sprouts don't like the sunlight. You can put them in the sun once sprouted to turn them green but they need a warm dark spot to grow. It really is just that simple!!
We eat our sprouts fresh out of the sprouters, but they need to go in the fridge once they are big enough to eat. (when the sprout is the length of the seed you can eat it). They should stay good for about 1 week in the fridge. Mine never last that long because they get eaten. Sprouts are great for salads, sandwiches, soups, muffins, breads, dinner casseroles, etc, etc. They can be added to anything.
If you and your family needed quick nutrition in an emergency, having sprouting seeds is the answer. Gardening has its place but it can take months. Sprouting takes only days and allows you to grow your own food storage. Storing sprouting seeds takes up little space and they last for many years, in the right conditions (dark, cool environment), and are relatively inexpensive. I don't think I will ever have enough storage space to store the recommended amount of wheat for 7 people, but I can store a years worth of sprouting seeds. Think of how many sprouts you'll get out of 1lb of wheat, a lot!! One tablespoon of wheat will create one full layer sprouts in the Victorio Sprouter. That's quite the bang for your buck!! This is one area of preparedness that everyone can do and should do today. The health benefits alone are why everyone should be sprouting.
Thursday, April 12, 2012
Taco Soup For A Year
| My Preparedness Binder needs an intervention!! |
I have been going through my preparedness binder and trying to organize all the random info I have gathered and put it all in order. I found a whole section on cooking with food storage and I needed to add it to my recipe binder.
| My Recipe Binder |
When I made my food storage recipe binder I wanted all of my recipes in one binder so I wasn't hunting down recipes in an emergency. (click here to see my recipe binder) My new addition to my binder is an Emergency Food Prep. section. It contains recipes that require little cooking and use only shelf stable items. In an emergency I would only have to flip to this section and know I could make a meal on my butane stove or sun oven or thermal cooker.
I found all of the recipes online in several different places. Click HERE, or HERE to see some of them. I have quite a few recipes that I can't find online anymore. I will keep looking but I think they were from the Blue Chip Group, which was bought out by Augason Farms, and their website no longer contains the recipe book the Blue Chip Group had. I will keep looking for it because it contained many, many recipes using canned and basic storage items.
One of the recipes that I wrote down was a Taco Soup recipe. It uses all shelf stable items and would be easy to make in a thermal cooker or wonderbox. Along with the recipe was a list of ingredients to have on hand to make it 12 times a year. If you made this once a month for your family for a whole year you would need.....
Taco Soup
12 pints (12 lb canned ground beef or equivalent of TVP)
12 packs taco seasoning (or make your own mix)
12 packs ranch dressing salad mix
12 15oz cans kidney beans (or cook your own 12x1/2C)
12 15oz cans black beans (or cook your own 12x1/2C)
12 28oz Rotel Mexican style diced tomatoes
12 cans whole kernel corn
12 3oz cans diced green chilies
Dehydrated onions 24 T (enough for 1-2 T onion for each recipe)
Sour Cream powder (for garnish)
Cheese (freeze dried)
Ingredients for homemade tortillas
To prepare one dinner:
Brown 1lb beef and add 1-2 T dried onion. Add the beans, seasonings,tomatoes with the juice, corn (only drain if you have extra water, if water is scare use the water from the corn), and chilies. Simmer for 30-1 hour on low. In a slow cooker: 4-6 hours on low, 6-8 on high.
Make homemade tortillas and cut into strips. Fry in a little oil. Serve the soup on top of the chips, with a dollup of sour cream and cheese.
If this is something your family would enjoy, go get the ingredients today and have the peace of knowing you have at least one meal done!! Maceys grocery store has most of the canned items as part of their case lot sale until 4/24/12.
Saturday, October 23, 2010
Success When Eating Legumes
When my children hear that we are eating beans I usually get more than one groan from them. Beans are so healthy and adding them to your diet will help your health, and they are cheap so you'll be saving money as well. Now...if there was only a magic bean that children loved like candy. Don't worry, I found some great ideas on getting your family to eat more legumes.
All of these ideas came from plentyofpicnics.blogspot.com!!
Success When Eating Legumes:
All of these ideas came from plentyofpicnics.blogspot.com!!
Success When Eating Legumes:
- Choose the easiest form! Use canned, precooked beans to simplify recipes (no soaking needed). Keep the pantry stocked with a variety of canned legumes for a quick addition or side dish to any meal.
- Power up recipes! Add dry or canned beans and peas when preparing casseroles, stew, and sides. Make chili more interesting with combining pinto, black, and kidney beans.
- Serve satisfying soups! Attract your family with split peas, lentil, minestrone or white bean chili. Use pureed beans to thicken soups and sauces.
- Make it fun! Call baked beans COWBOY beans! Chili could be Chuck Wagon Chili, etc. Instead of a tostado call it taco pizza, a flat shell, refried beans, hamburger, black beans, cheese, lettuce, and tomatoes.
- Use colorful garnishes! Kidney beans are beautiful in taco salad, or in any salad. Edamame is a brilliant green! Black beans add great contrast to your refried bean burrito and chili.
- Salad Bar Sundays! Enjoy the textures and colors of beans. Have a salad bar & offer red kidney beans, black beans, green Edamame beans, yellow lentil beans, ant then of course fun sunflower seeds or peanuts and cheese & veggies & wonderful low sugar dressings! Have you tried the spray dressings?
- Bring back the classics! Pair baked beans as a side dish with oven-baked chicken!
- After School Snacks! Corn chips with bean dip. Flour tortillas with refried beans and cheese. Edamame beans are fun to pop out of their shells & kids love them. Trail mix with soy nuts and peanuts mixed between and craisins & pretzels. Tortilla with cheese, black beans, and salsa.
- Healthy Substitute for meat! Add some black or kidney beans to your ground hamburger once it is cooked and then you can decrease the amount of meat (which means you also decrease the amount of fat & cholesterol too!) Great in taco & burrito meat! Sprinkle some beans in your shepards pie too.
- Try a New Legume Each Week! Taco salad with kidney beans, refried beans on burritos & double tacos, white beans in white chili, variety beans in taco soup, etc.
October Goals
Beans-60lbs per person per year. Beans, peas, lentils, nuts, and sprouting beans. Store in a cool dry place and dry beans will last 30+ years. Canned beans have a shelf life of around 2 years. Rinse your canned beans and soak dry beans to lessen the "effects" of beans. Soak dry beans for 8-12 hours, rinse and add new water. Simmer and cook as directed.
Cold weather clothing and bedding-Take inventory of your coats, hats, gloves, boots, sleeping bags, long underwear, ski clothing, bedding and blankets. Have a year supply of clothing for children. Keep blankets and gloves in your car for emergencies.
Enjoy the journey!
Enjoy the blessings!
Feel the peace!
Labels:
beans,
october goals
Saturday, October 9, 2010
Recipes Using Beans
Graham Crackers
1 ¾ C whole wheat flour
¼ C white bean flour
1/3 C powdered milk
¼ t baking soda
1 t (scant) baking powder
½ t cinnamon
pinch of salt
Mix all above ingredients and then add:
1/3 C oil
½ C warm honey
1 t lemon juice (or vinegar)
1 T vanilla
2 T water
Mix all until well moistened. Spray a jellyroll pan with cooking spray and roll out dough thinly onto pan. Prick with fork. (I actually flip my pan upside down and roll the dough on that side. It makes it easier to cut after cooking) Bake at 350 for 8-10 minutes. Remove from oven and cut into graham cracker rectangles with a pizza cutter. It can be tricky finding the right depth to roll the dough. The thinner the dough the crunchier the cracker.
Black Bean Cakes with Mole Salsa (from tasteofhome.com)
1 can black beans rinsed and drained
1 egg beaten
1 C shredded zucchini
½ C dry breadcrumbs
¼ C shredded Mexican cheese blend
2 T chili powder
¼ t each salt, baking powder, and cumin
2 T olive oil
Mash the beans and add all ingredients and mix well. Shape into 6 patties and brush both sides with oil. Place on baking sheet and broil 3-4” from heat for 3-4 minutes.
Salsa-
2 med. Tomatoes chopped
1 T lime juice
1 small green pepper, chopped
1-2 t minced chipotle pepper in adobo sauce
3 T grated chocolate
1 t honey
1 green onion thinly sliced
2T minced fresh cilantro
Combine all ingredients and serve over patties.
October Goals
Beans-60lbs per person per year. Beans, peas, lentils, nuts, and sprouting beans. Store in a cool dry place and dry beans will last 30+ years. Canned beans have a shelf life of around 2 years. Rinse your canned beans and soak dry beans to lessen the "effects" of beans. Soak dry beans for 8-12 hours, rinse and add new water. Simmer and cook as directed.
Cold weather clothing and bedding-Take inventory of your coats, hats, gloves, boots, sleeping bags, long underwear, ski clothing, bedding and blankets. Have a year supply of clothing for children. Keep blankets and gloves in your car for emergencies.
Enjoy the journey!
Enjoy the blessings!
Feel the peace!
Labels:
beans,
graham crackers,
legumes,
october goals,
recipes
Subscribe to:
Posts (Atom)